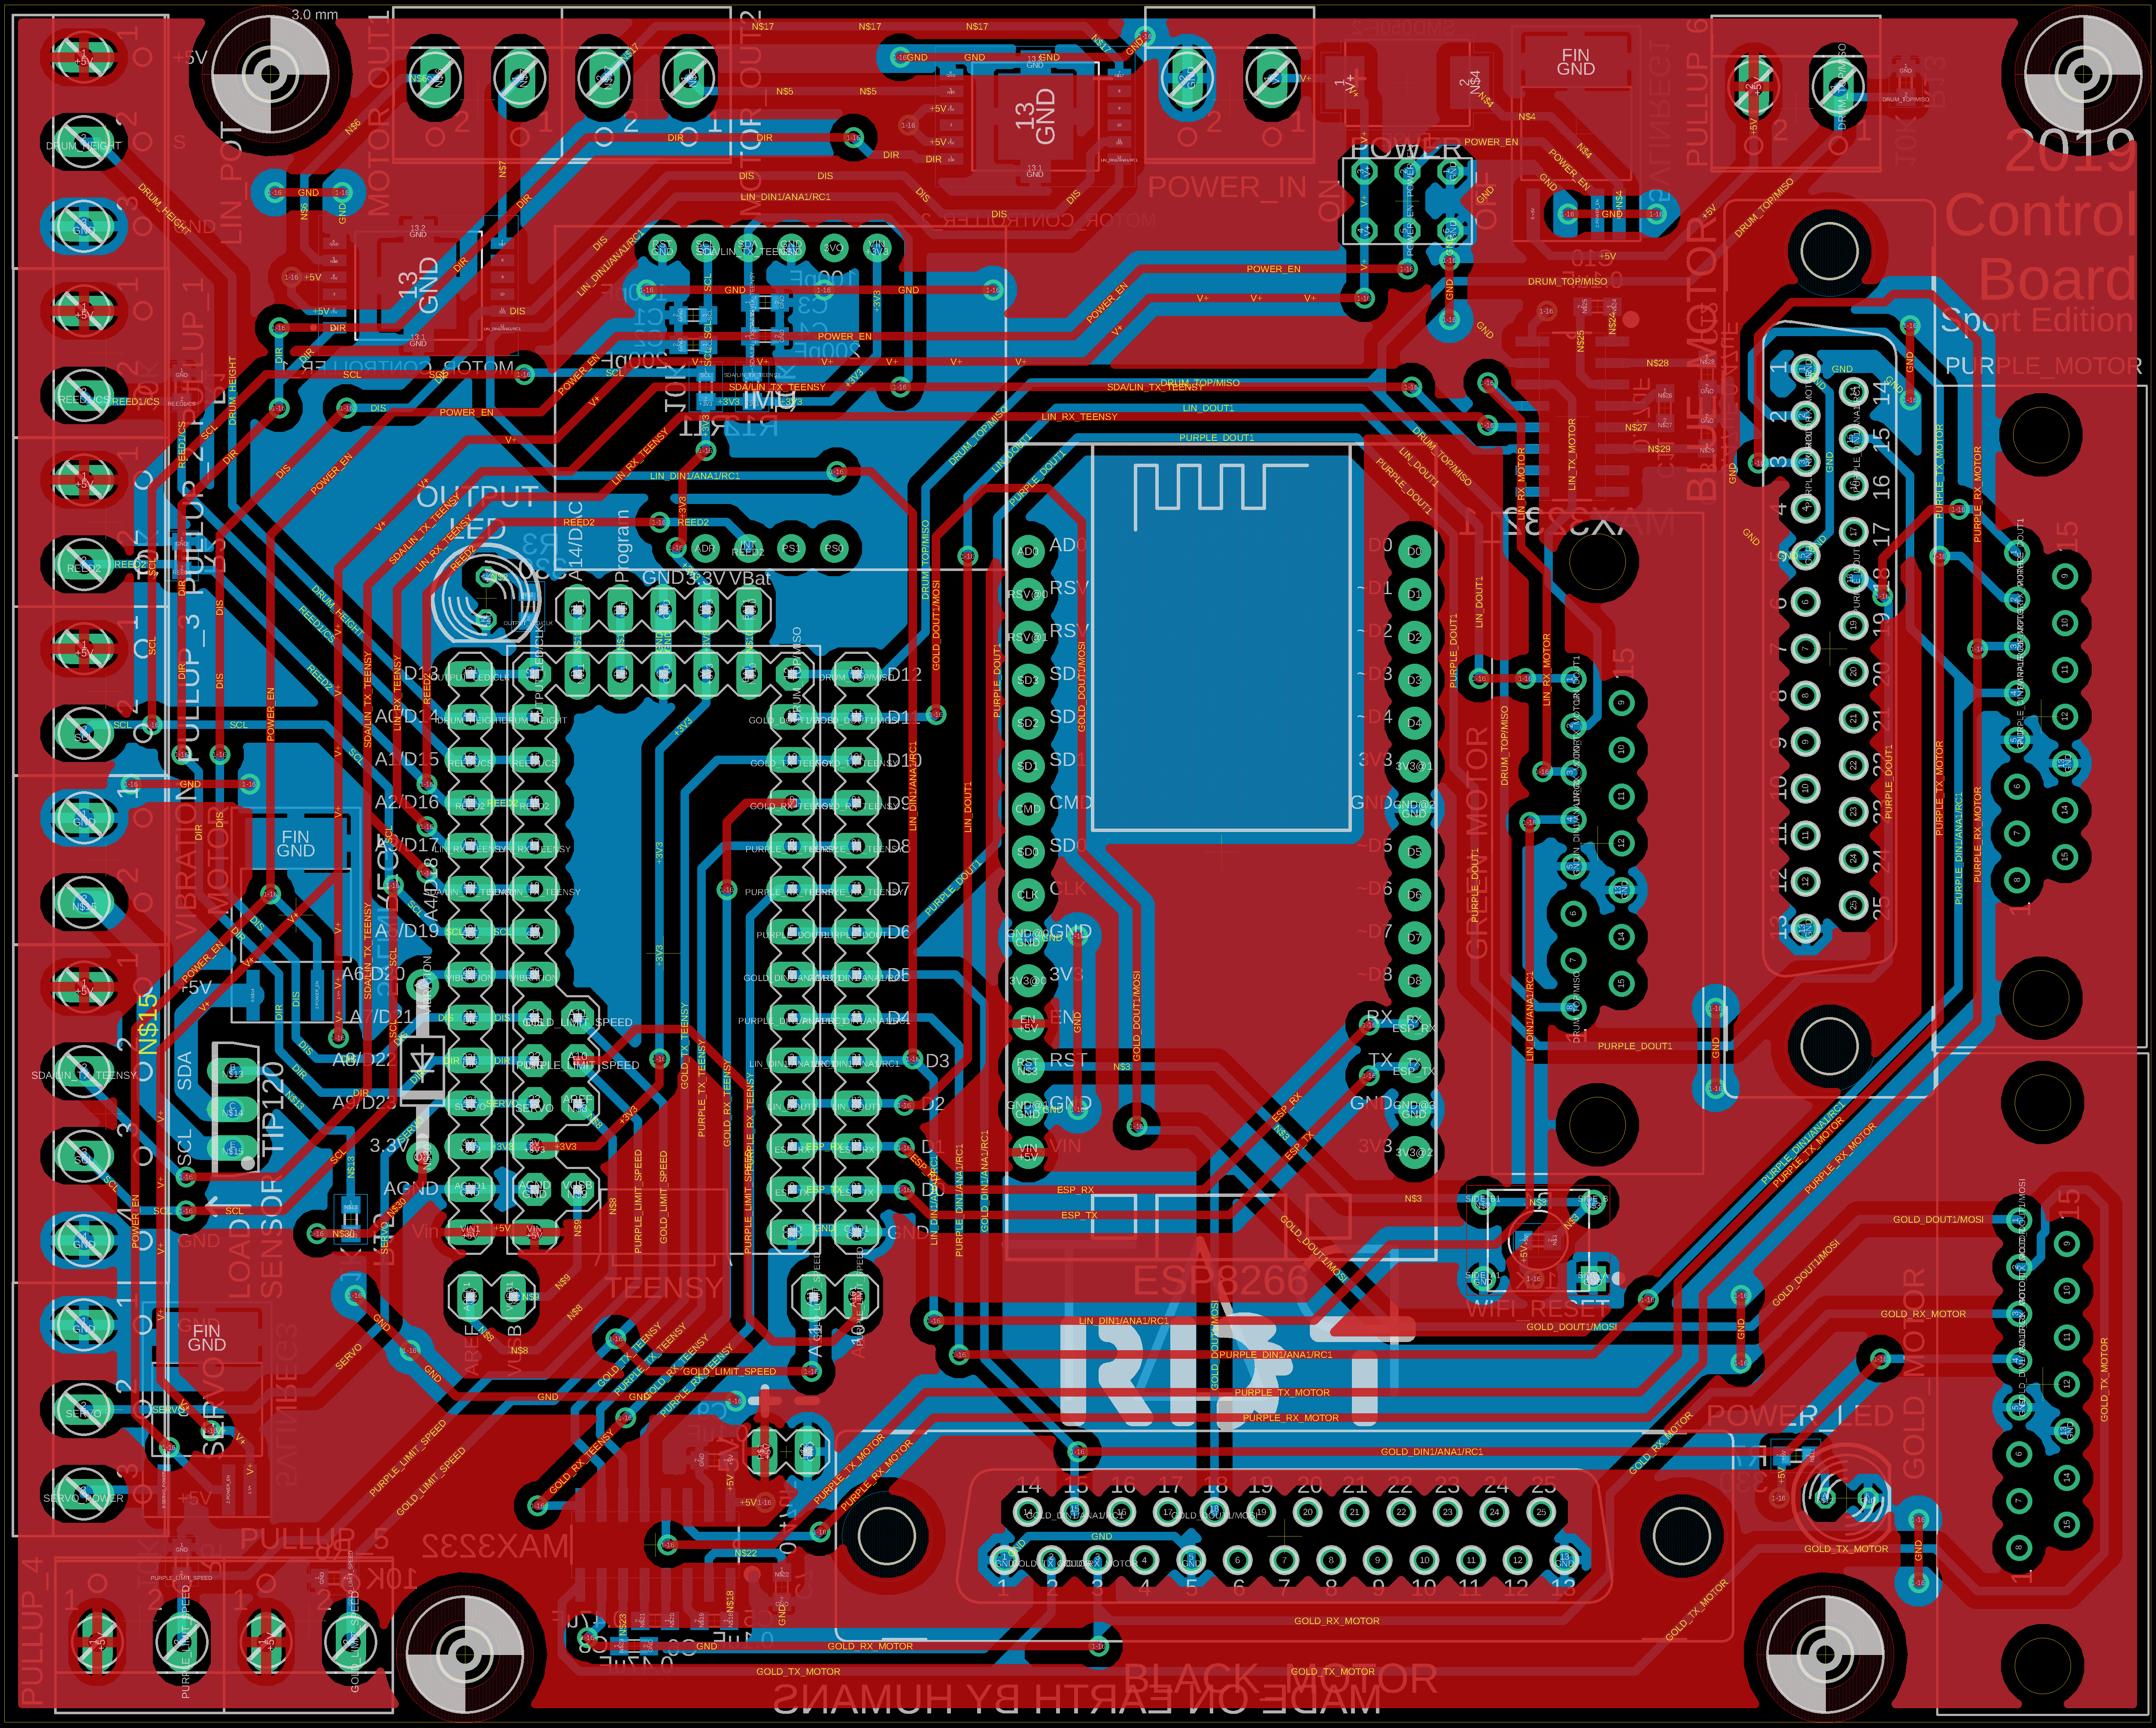
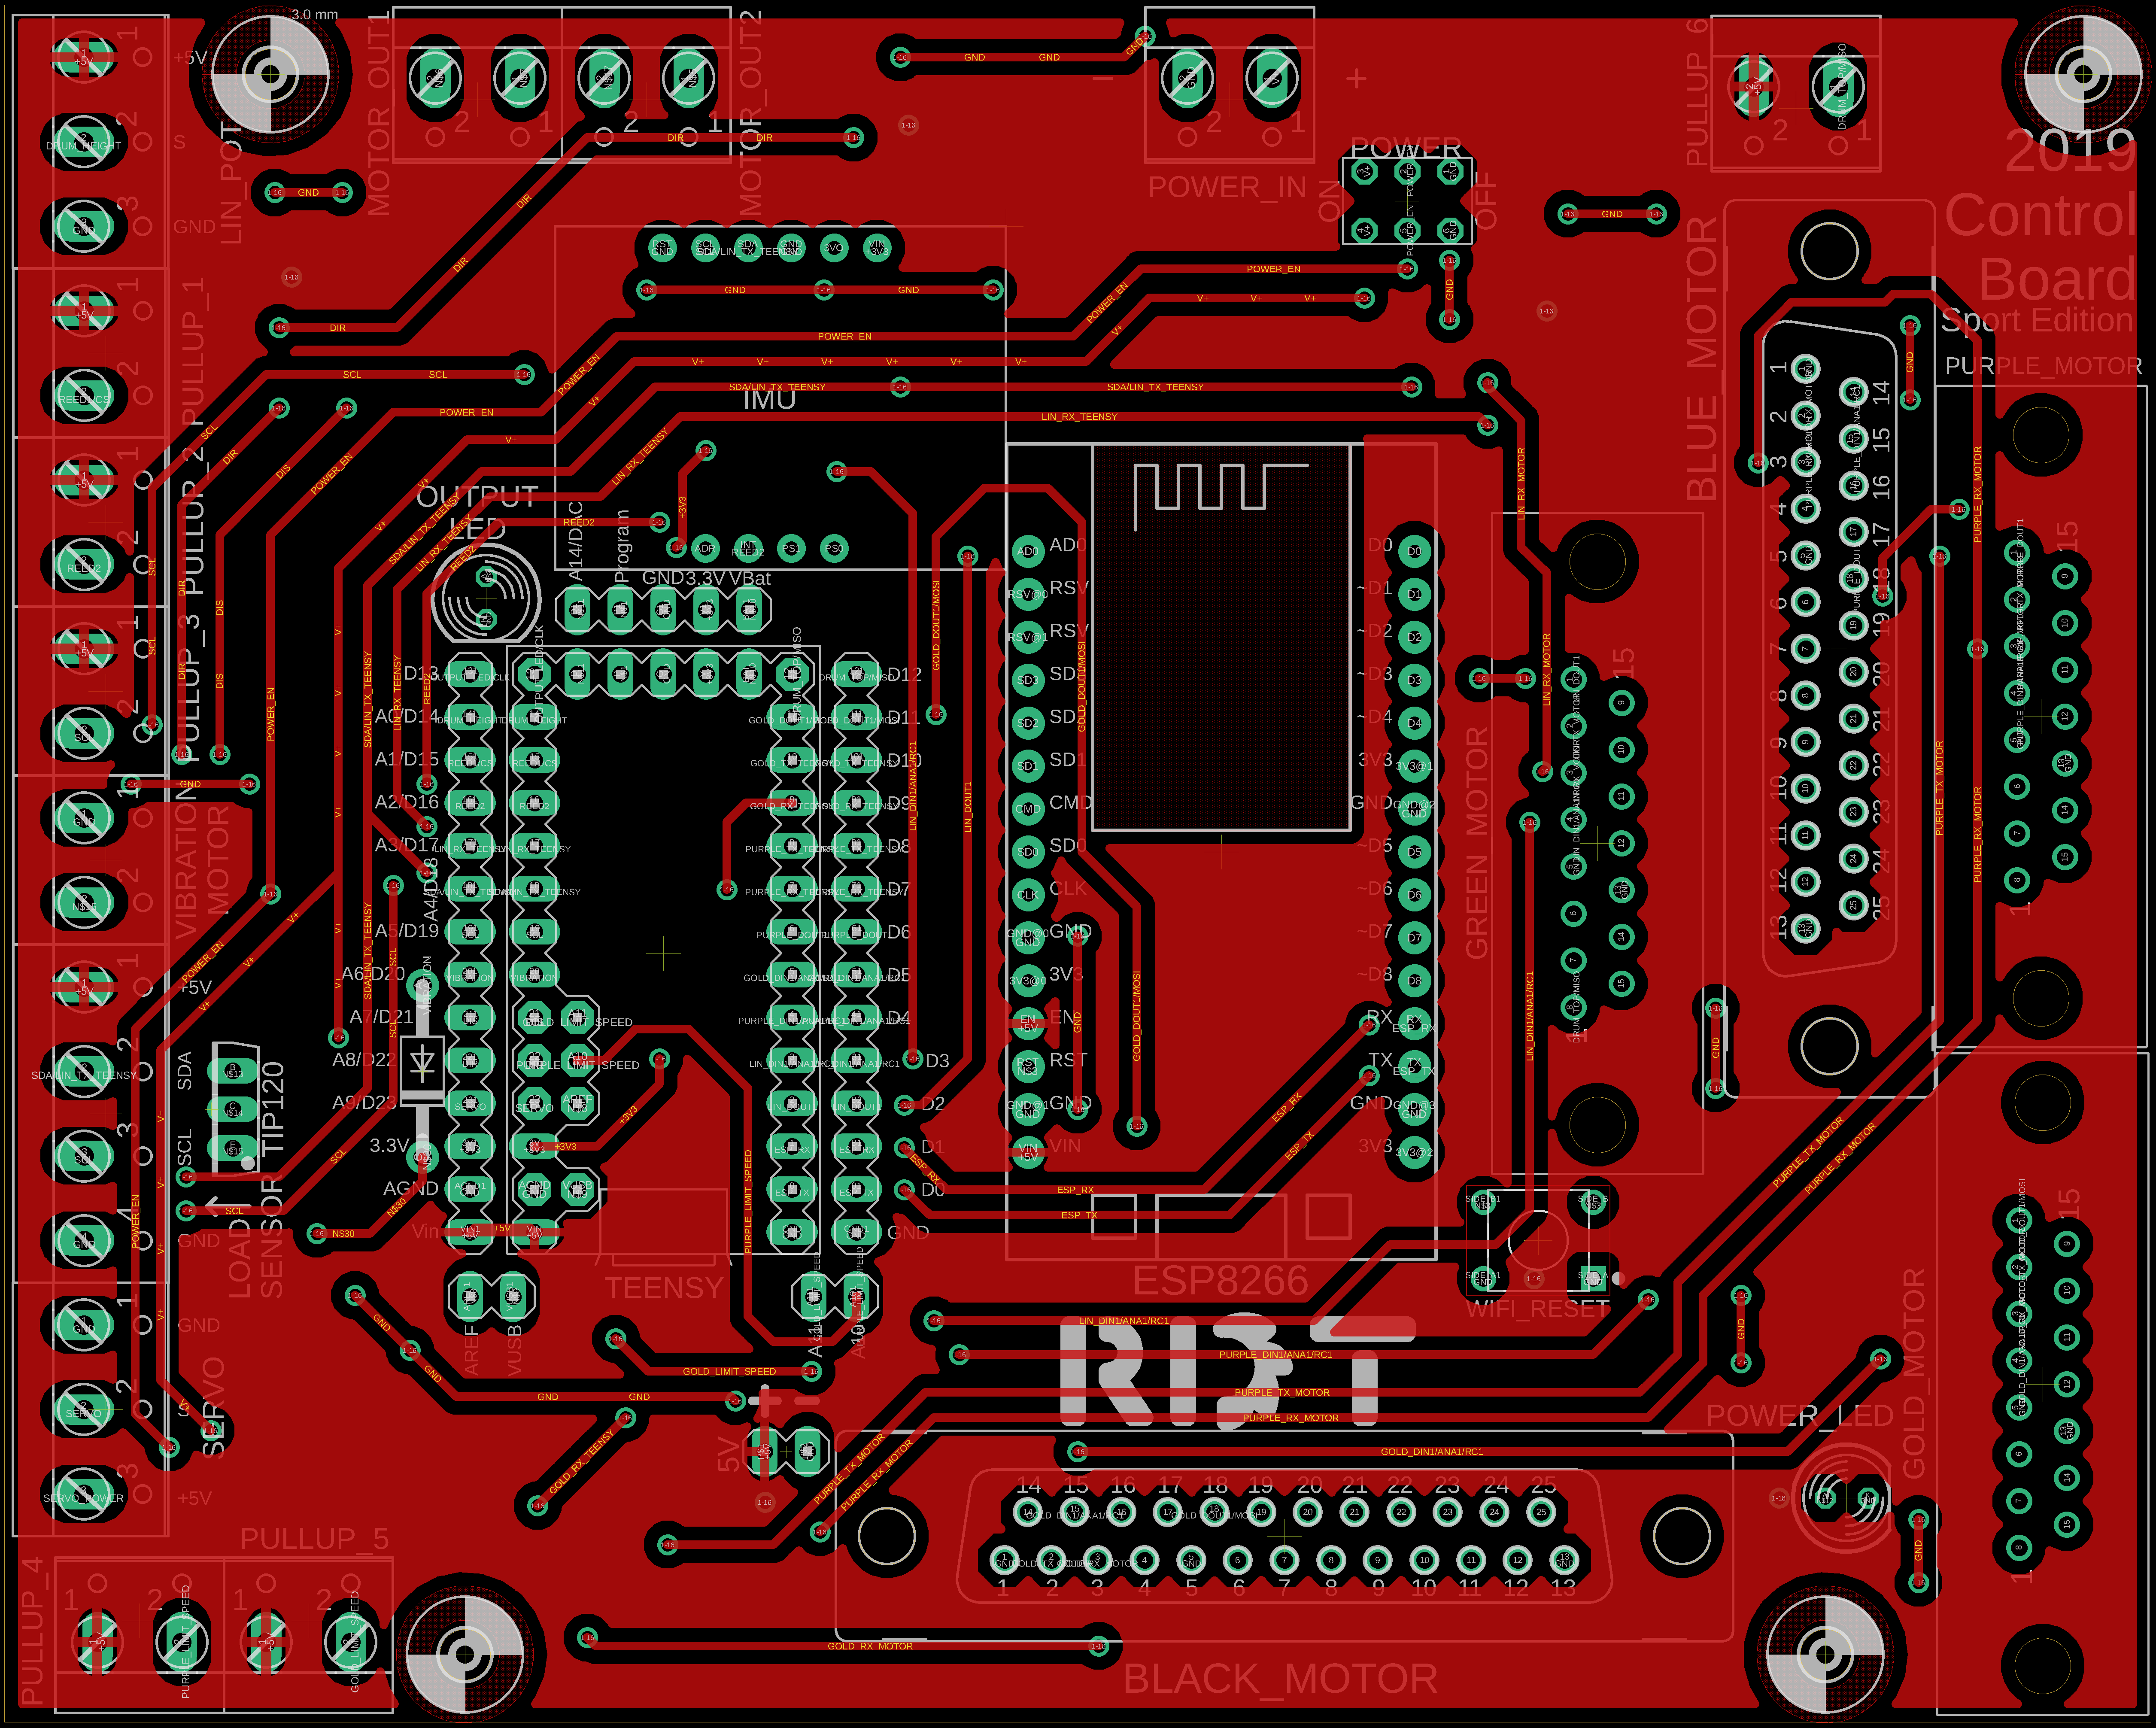
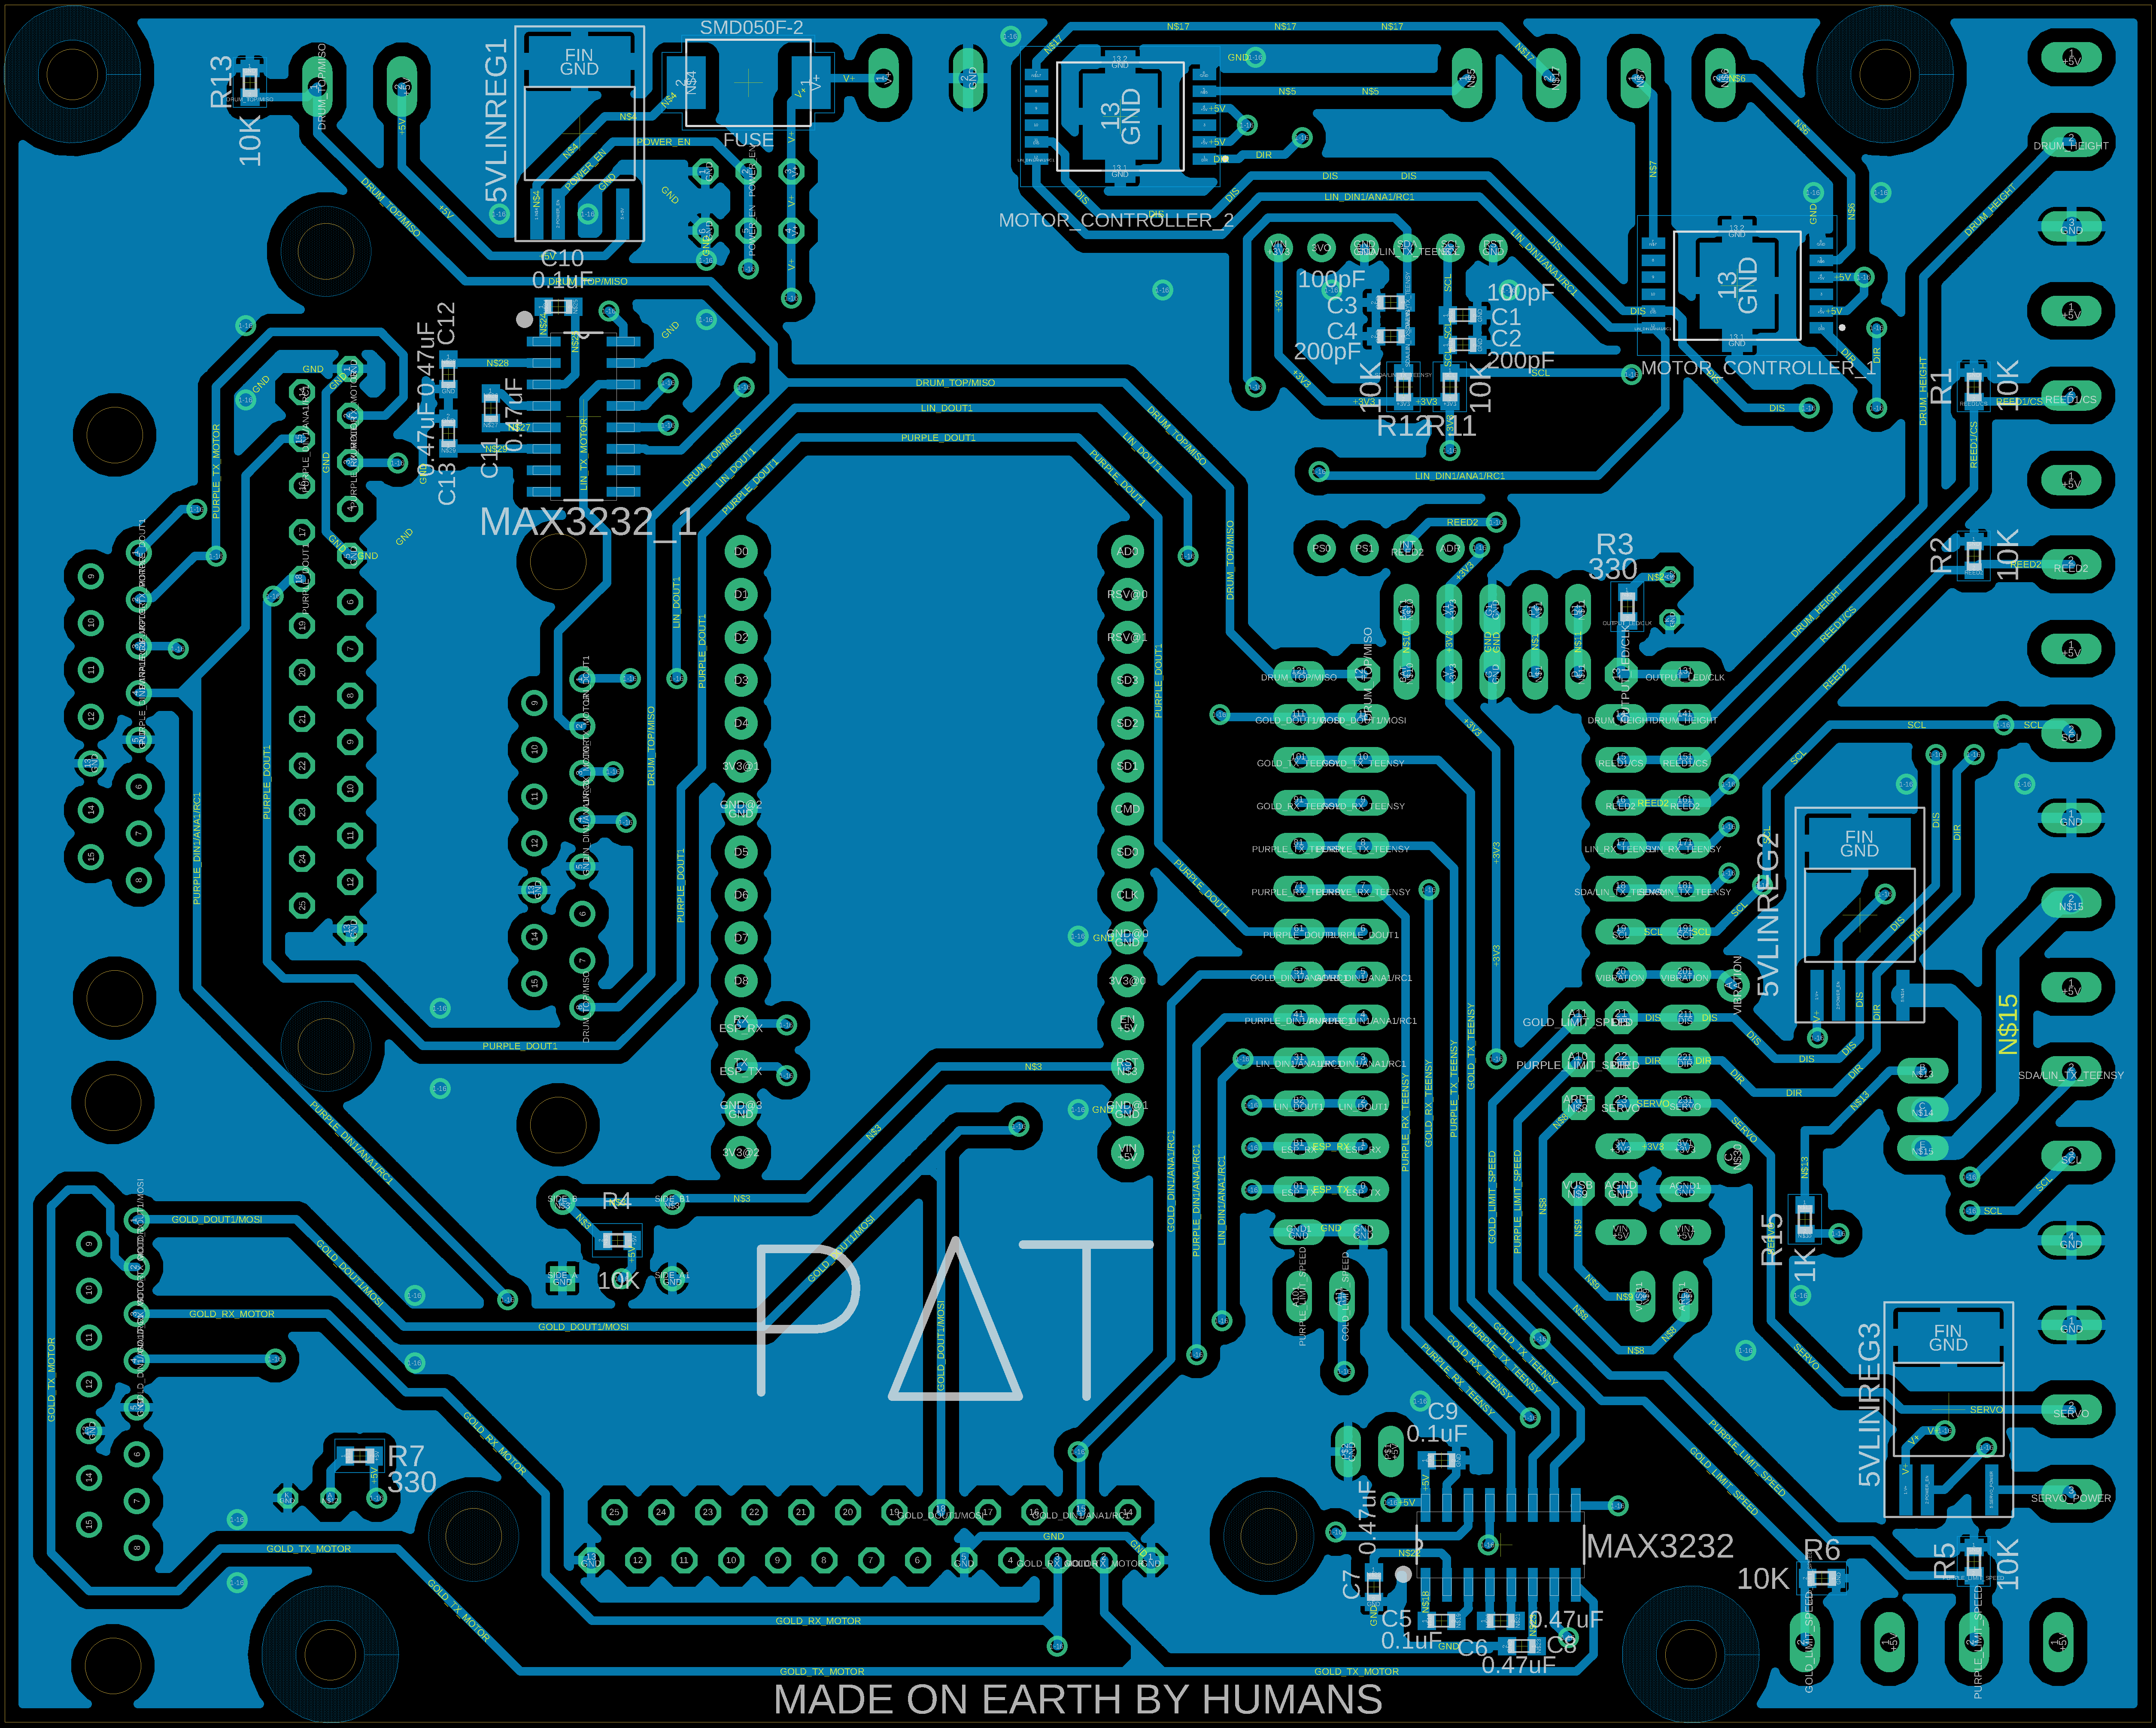
2019 RDT Control Board
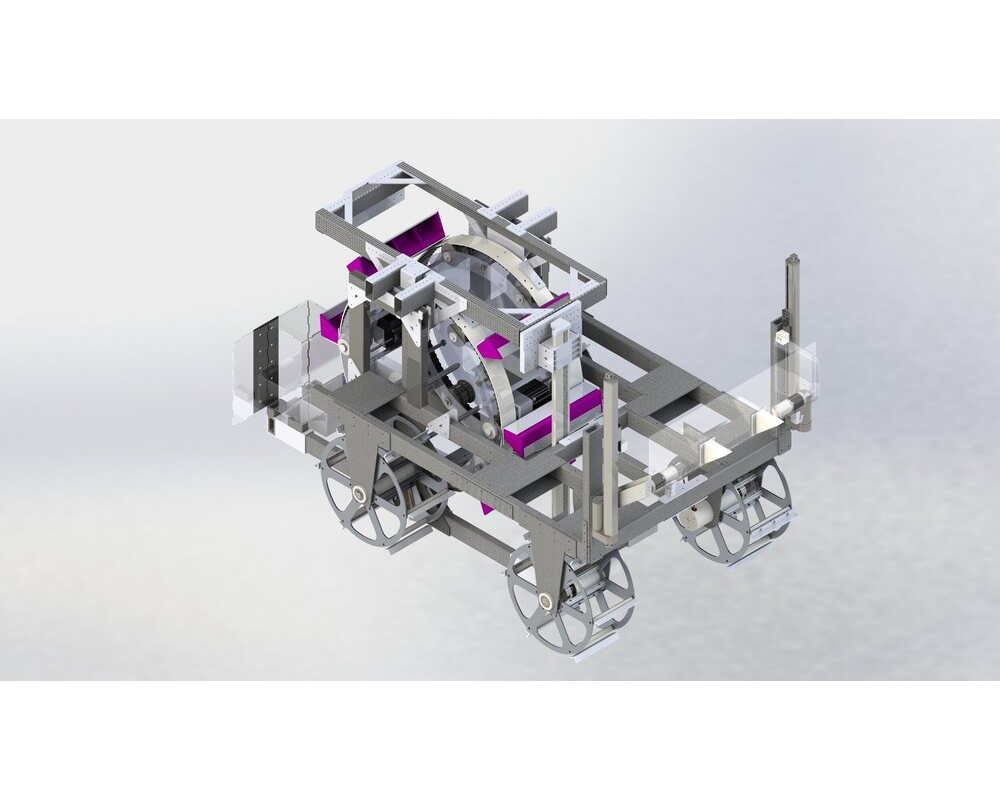
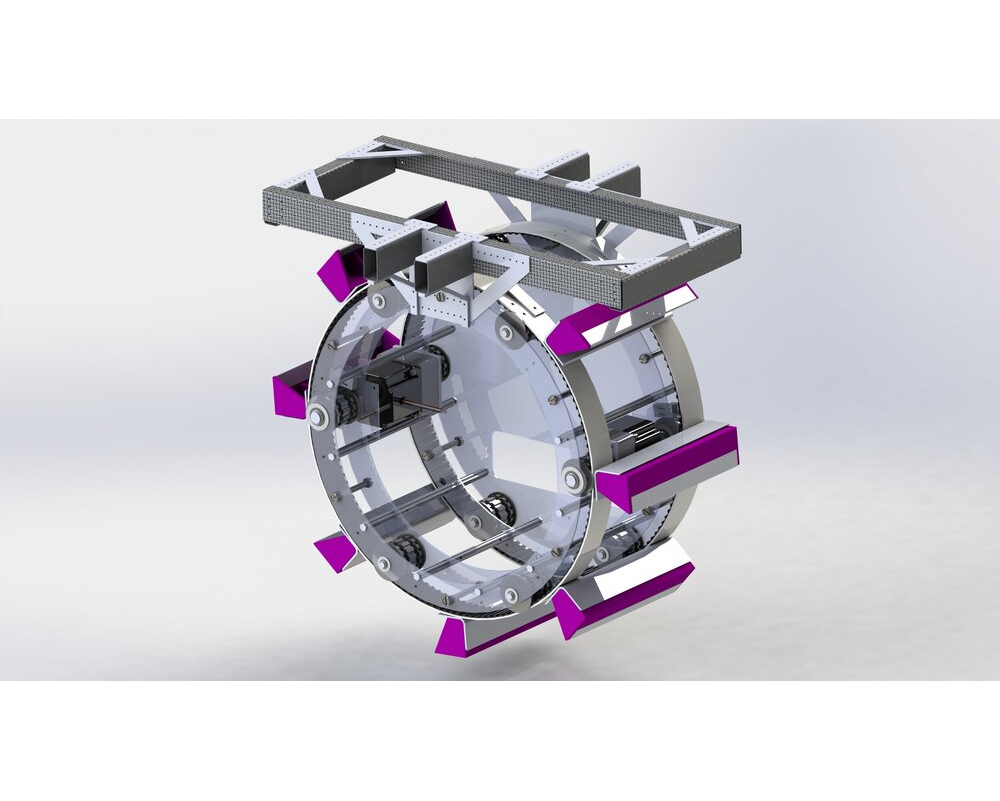
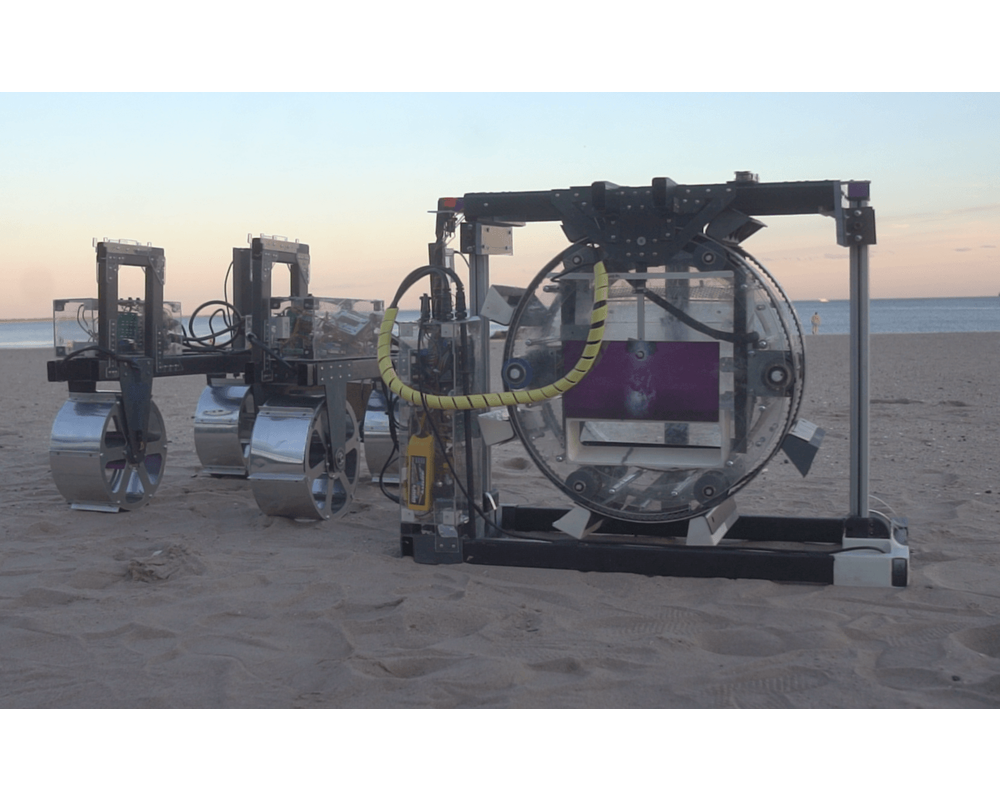
The 2019 RDT Control Board was made for the NYU Robotics Design Team, to control the two robot system ORBIT II. The system consists of a transport robot to bring the digging robot across an obstacle field and deposit the digging robot in a mining field. The digging robot then utilizes a drum outfitted with shovels to mine simulated regolith, filter out dusty regolith and store icy regolith. The digging robot then deposits the icy regoith into the transport robot, which brings it back across the obstacle field and deposits it in a bin.
This board was designed to consolidate control 4 distinct subsystems into one board: a digging system, a storage and filtration system, a locomotion system, and a deposition system.
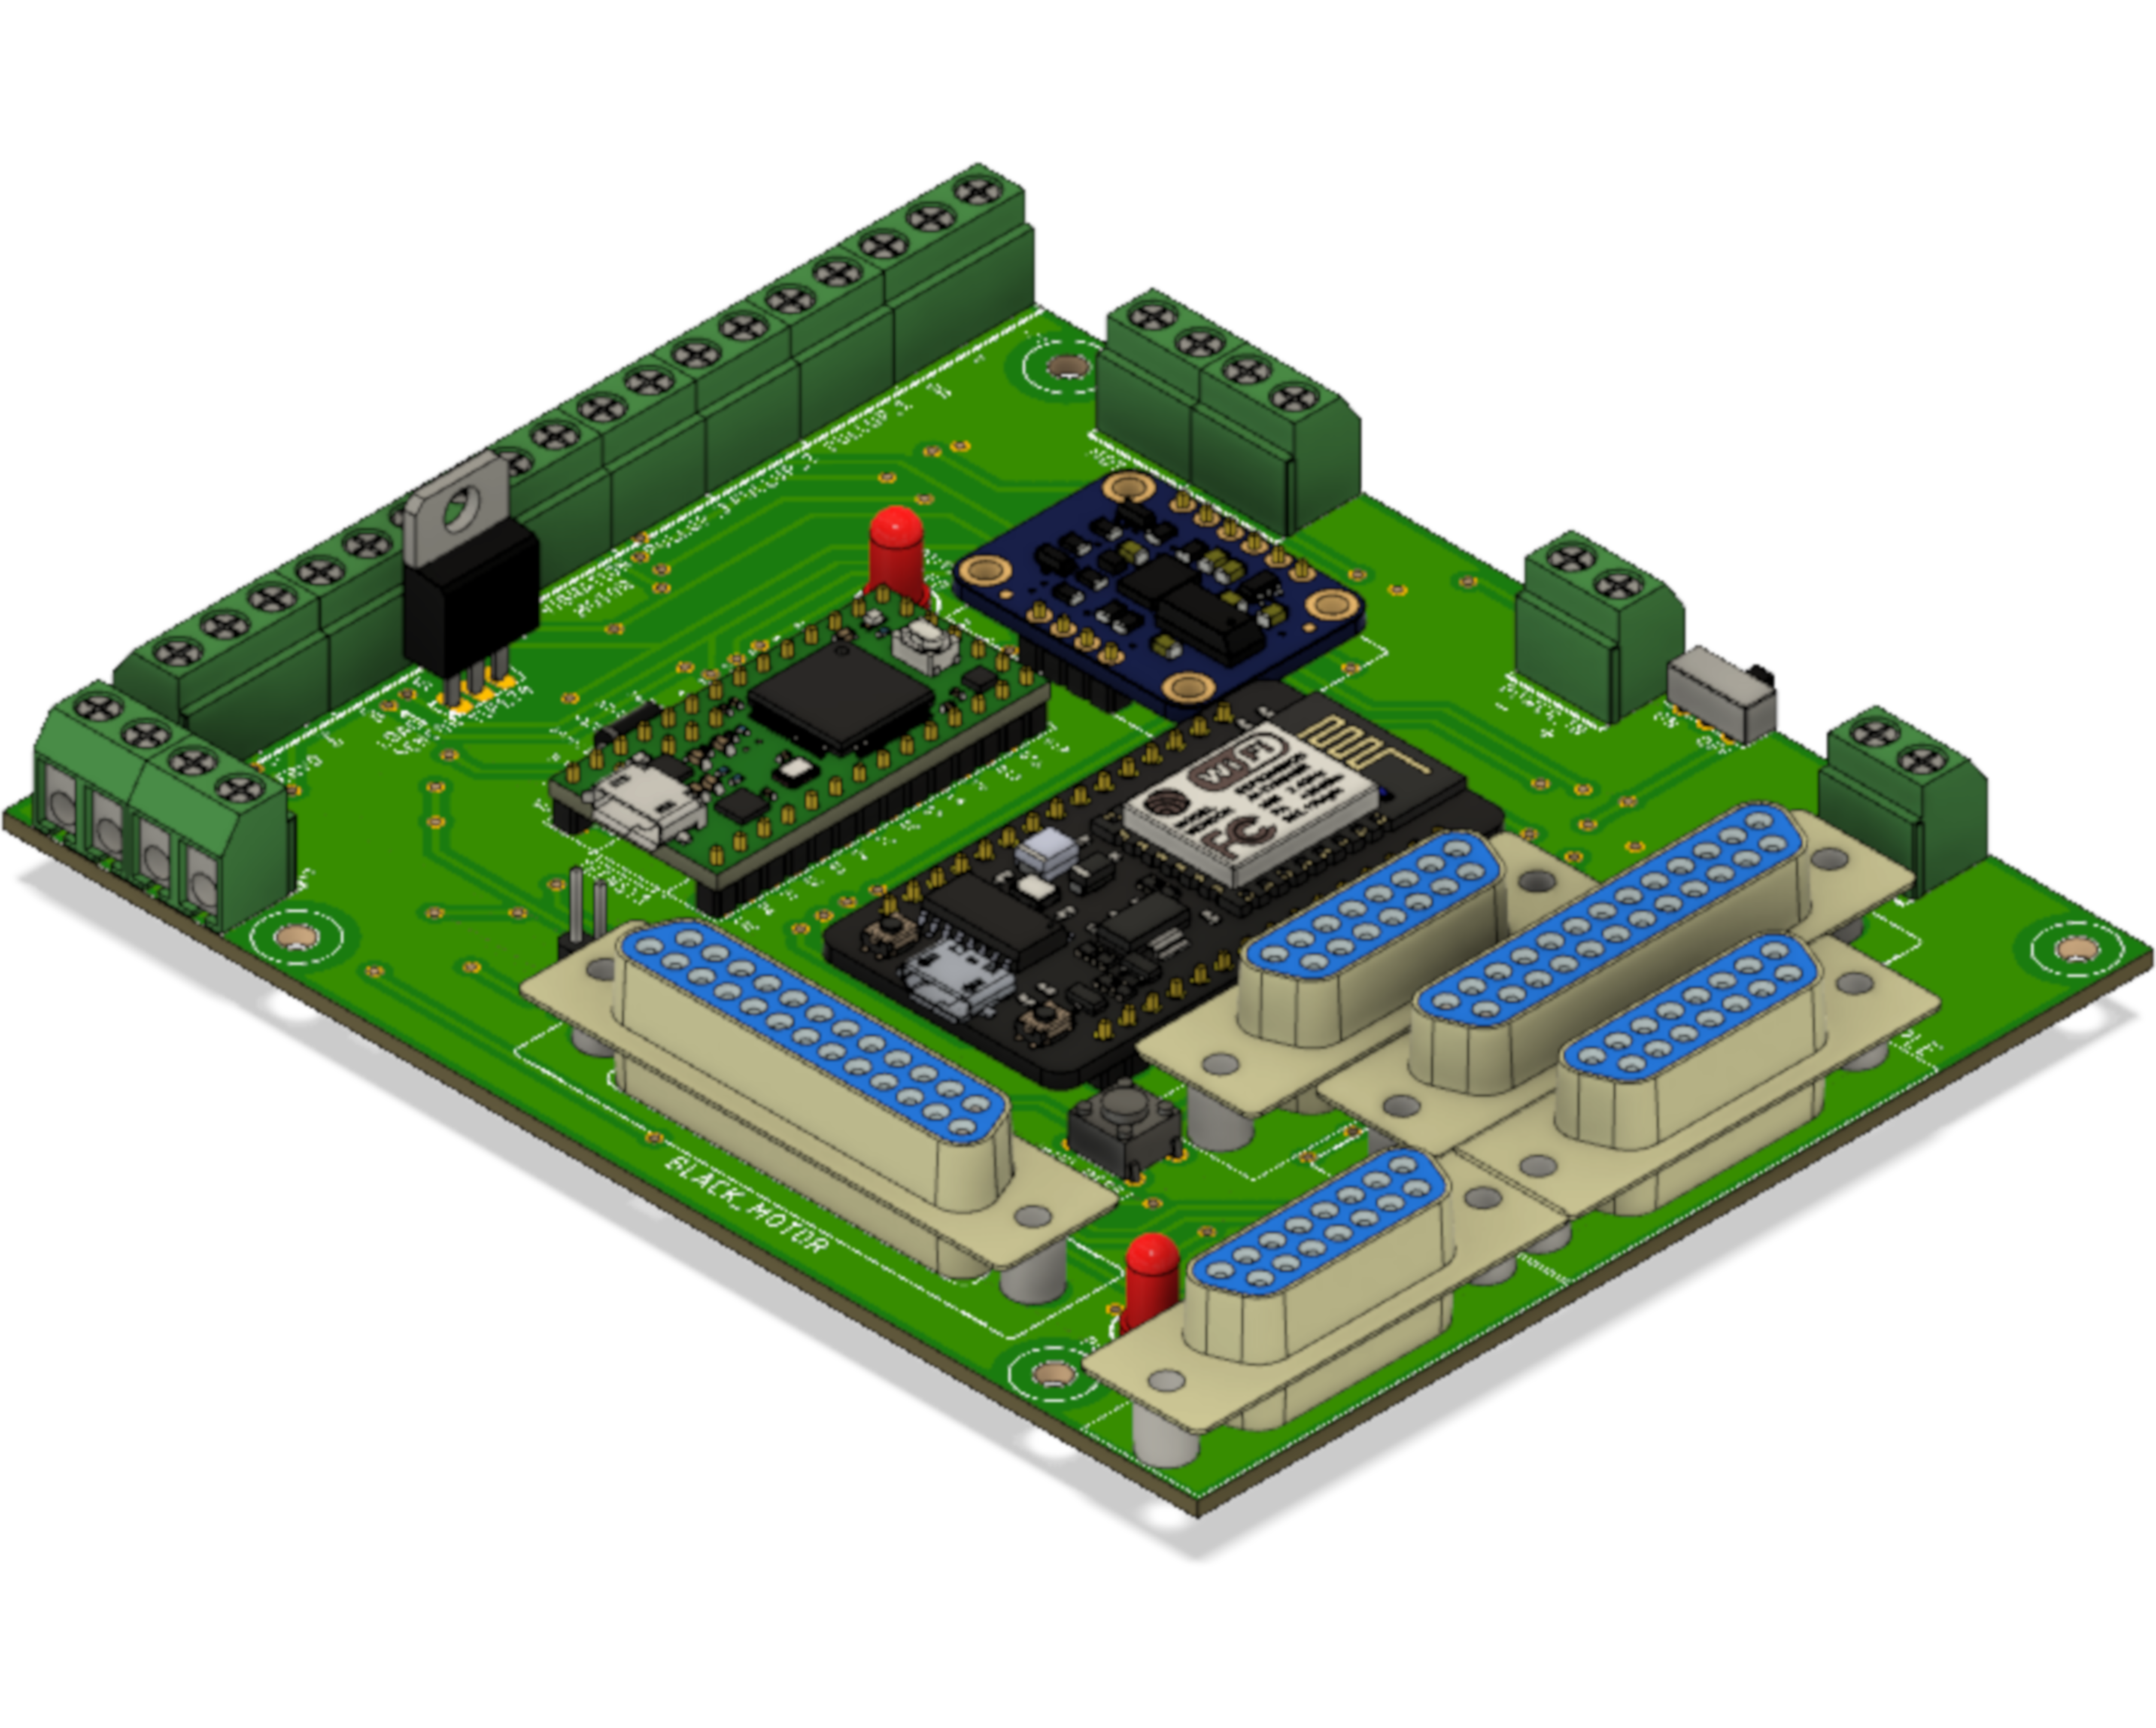
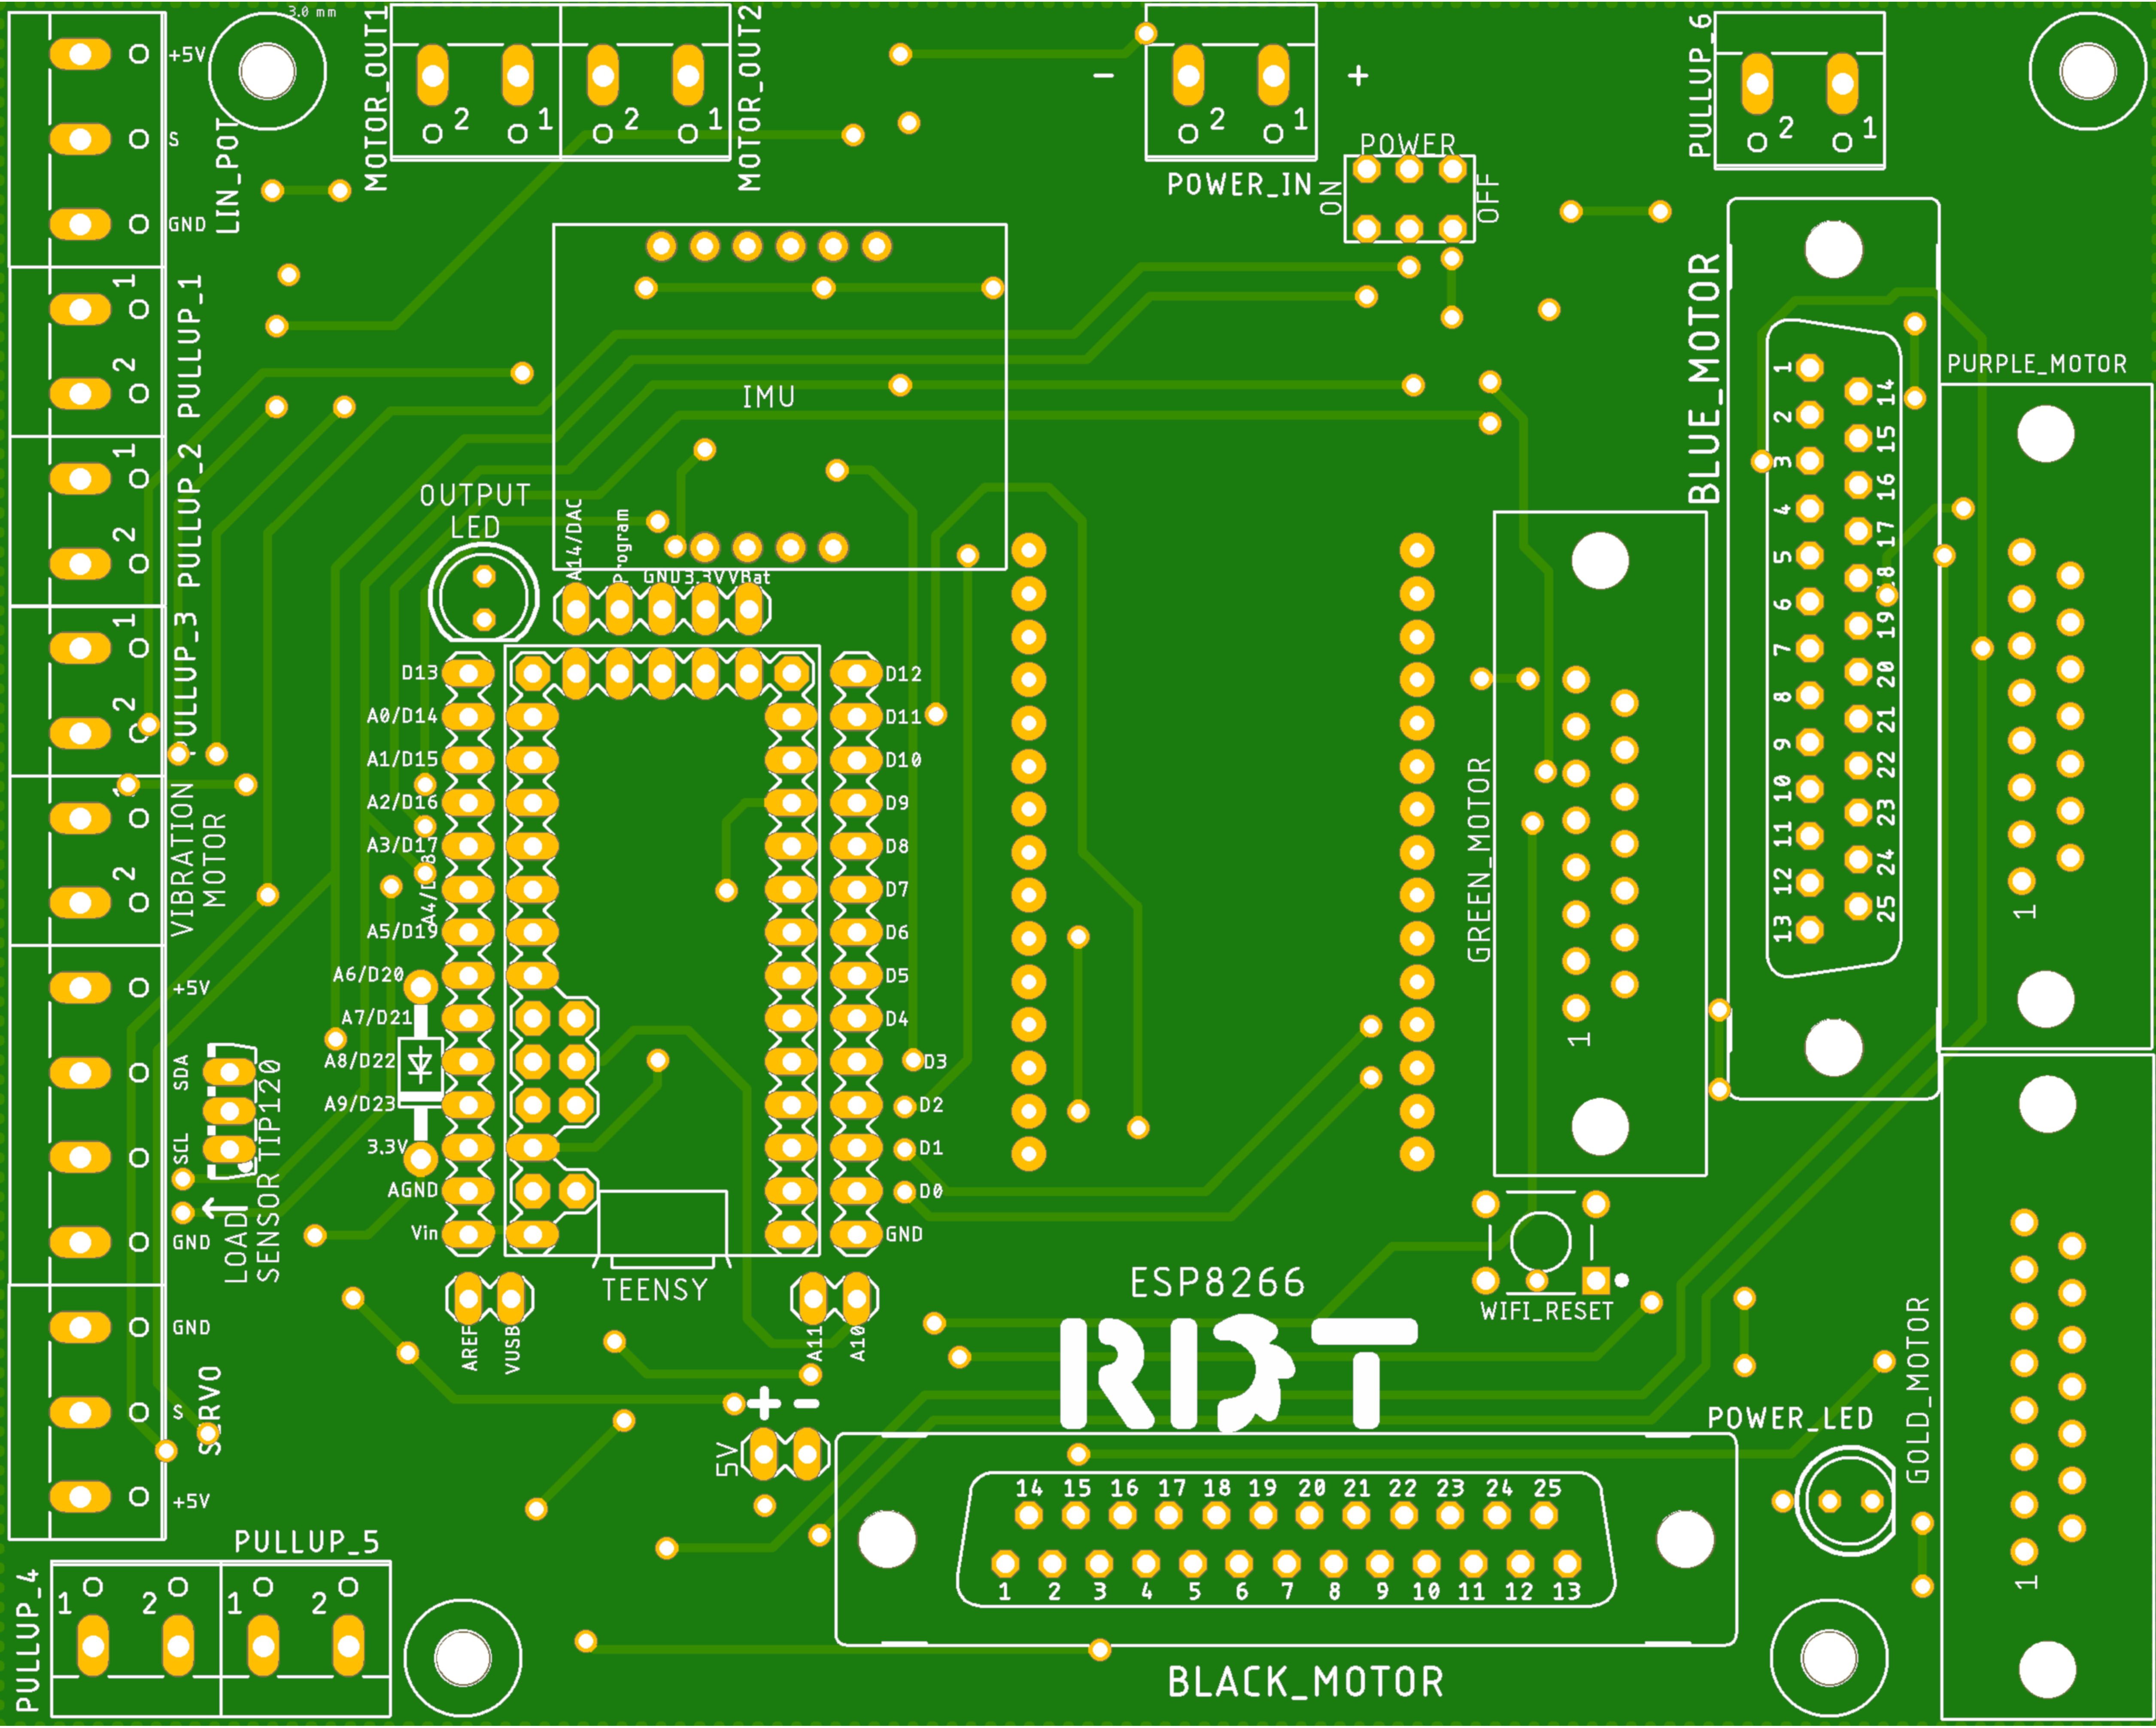
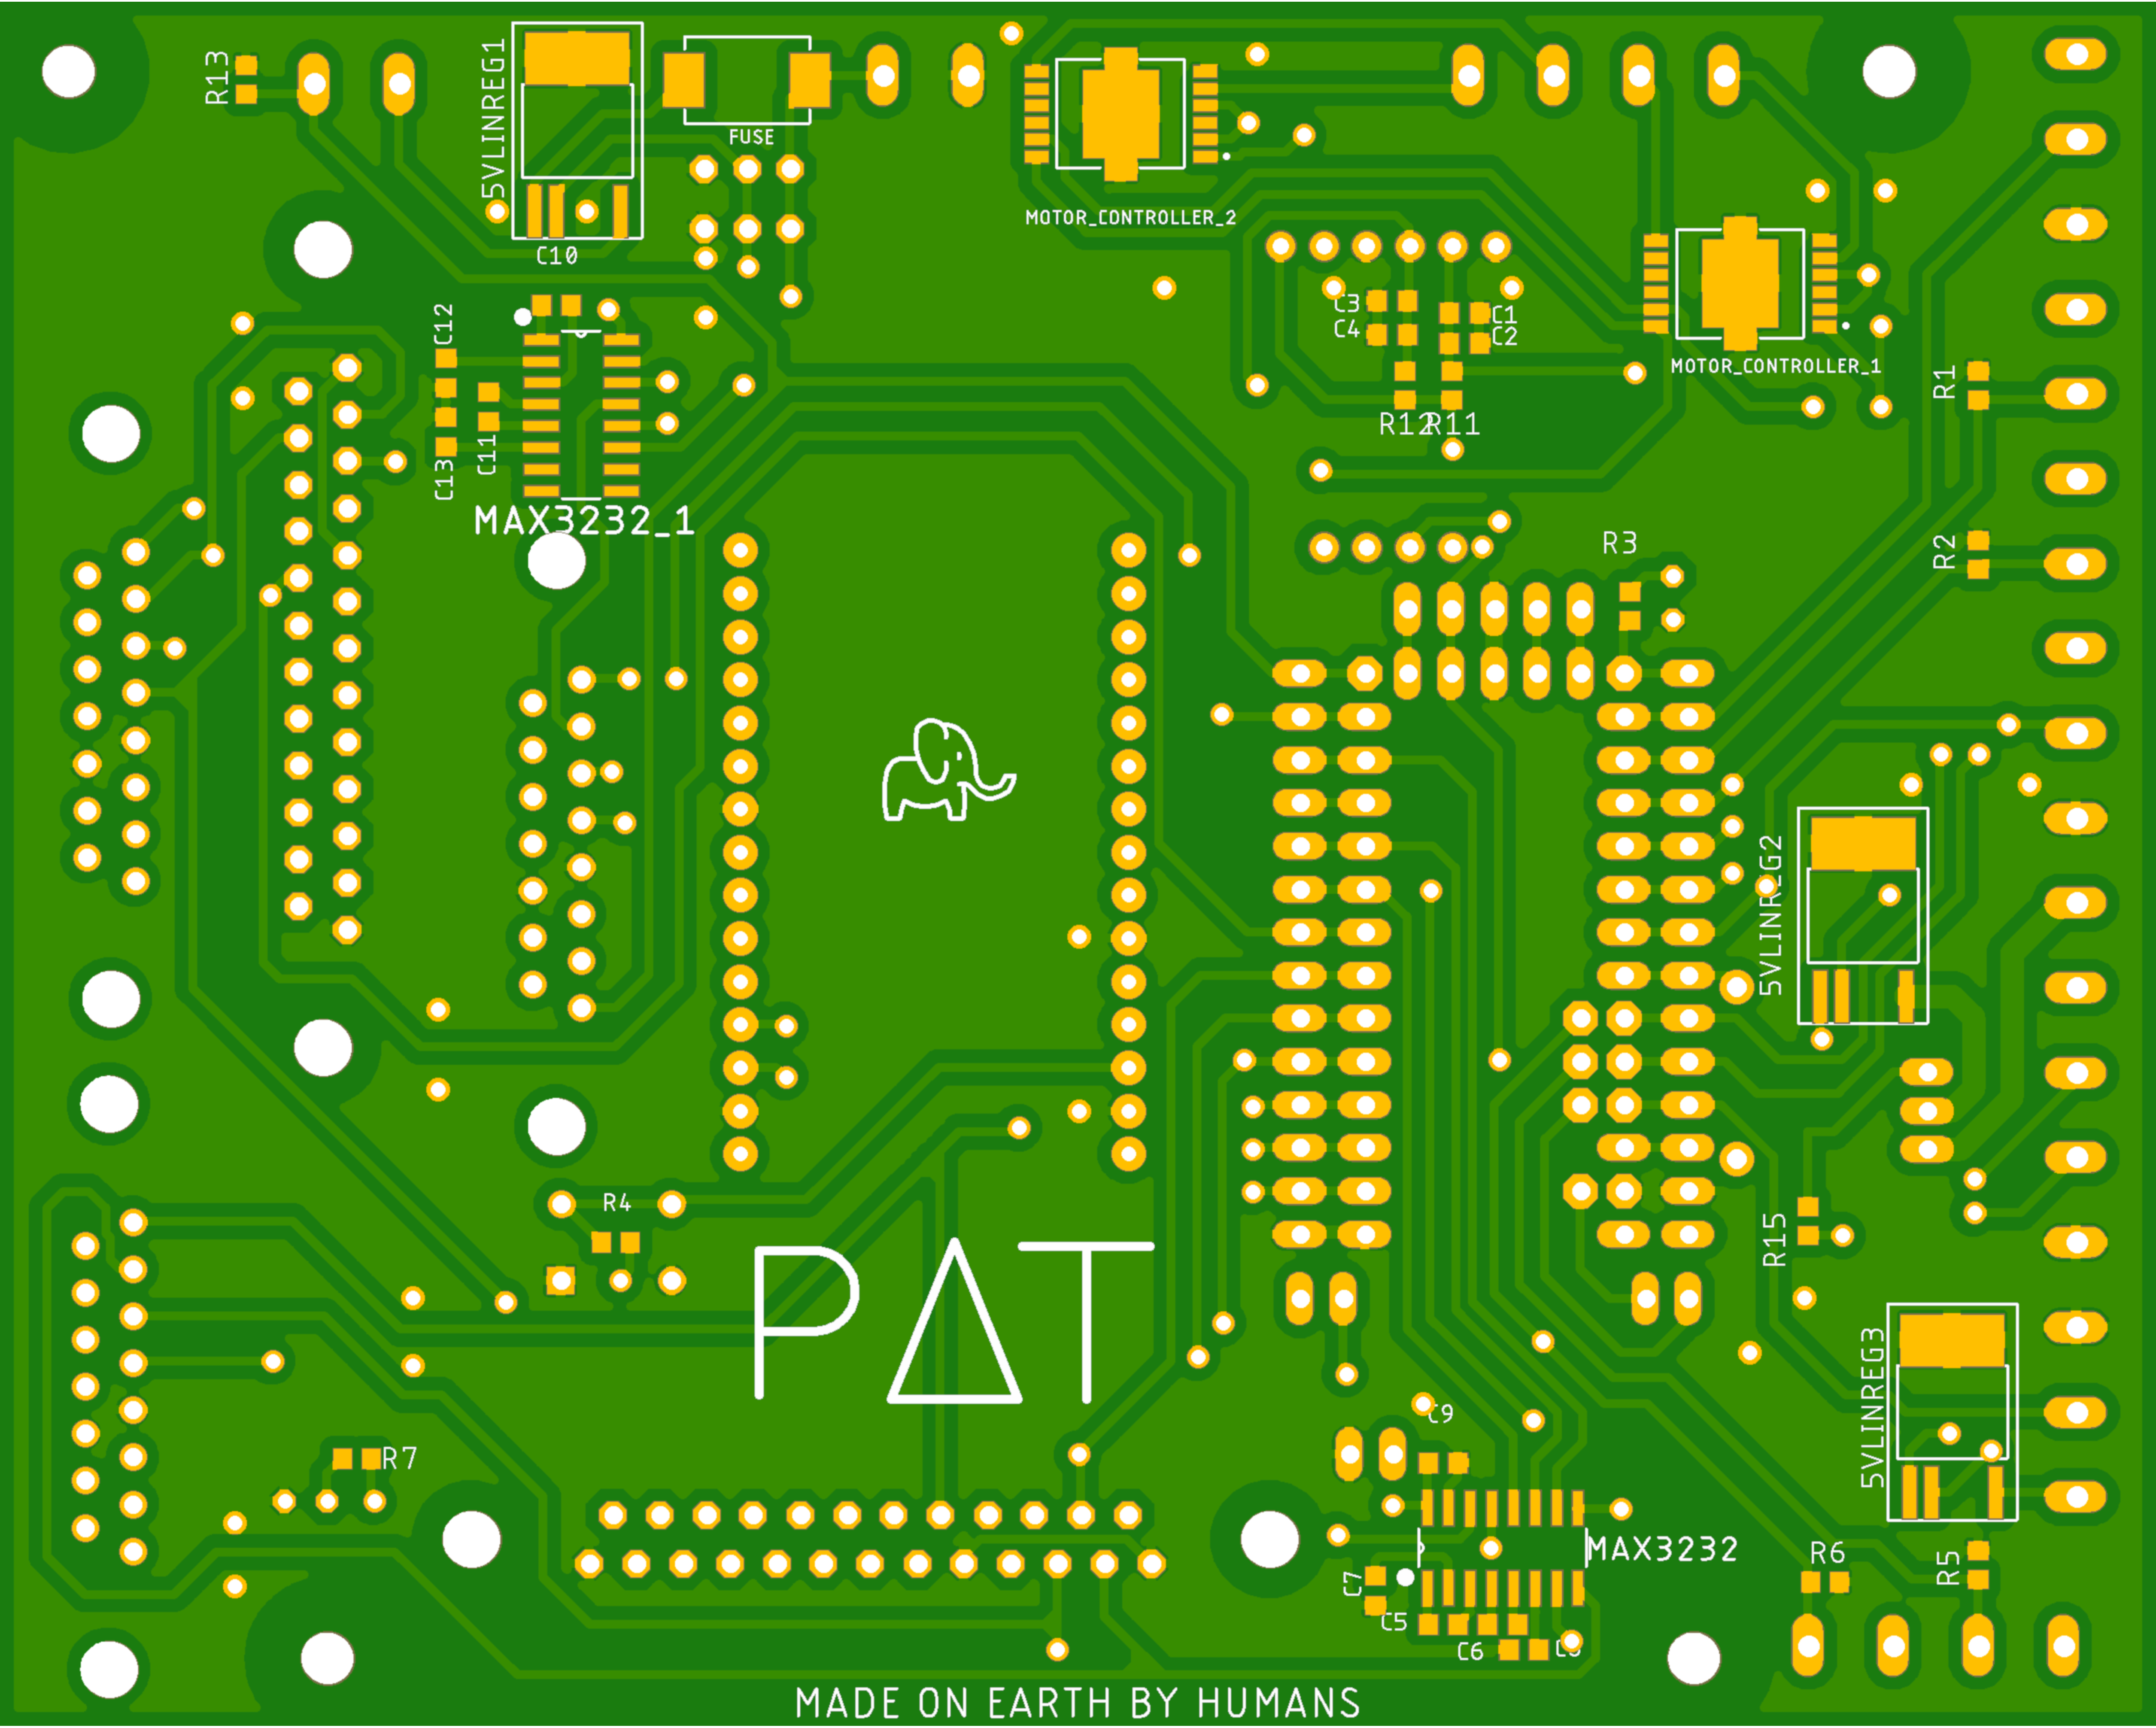
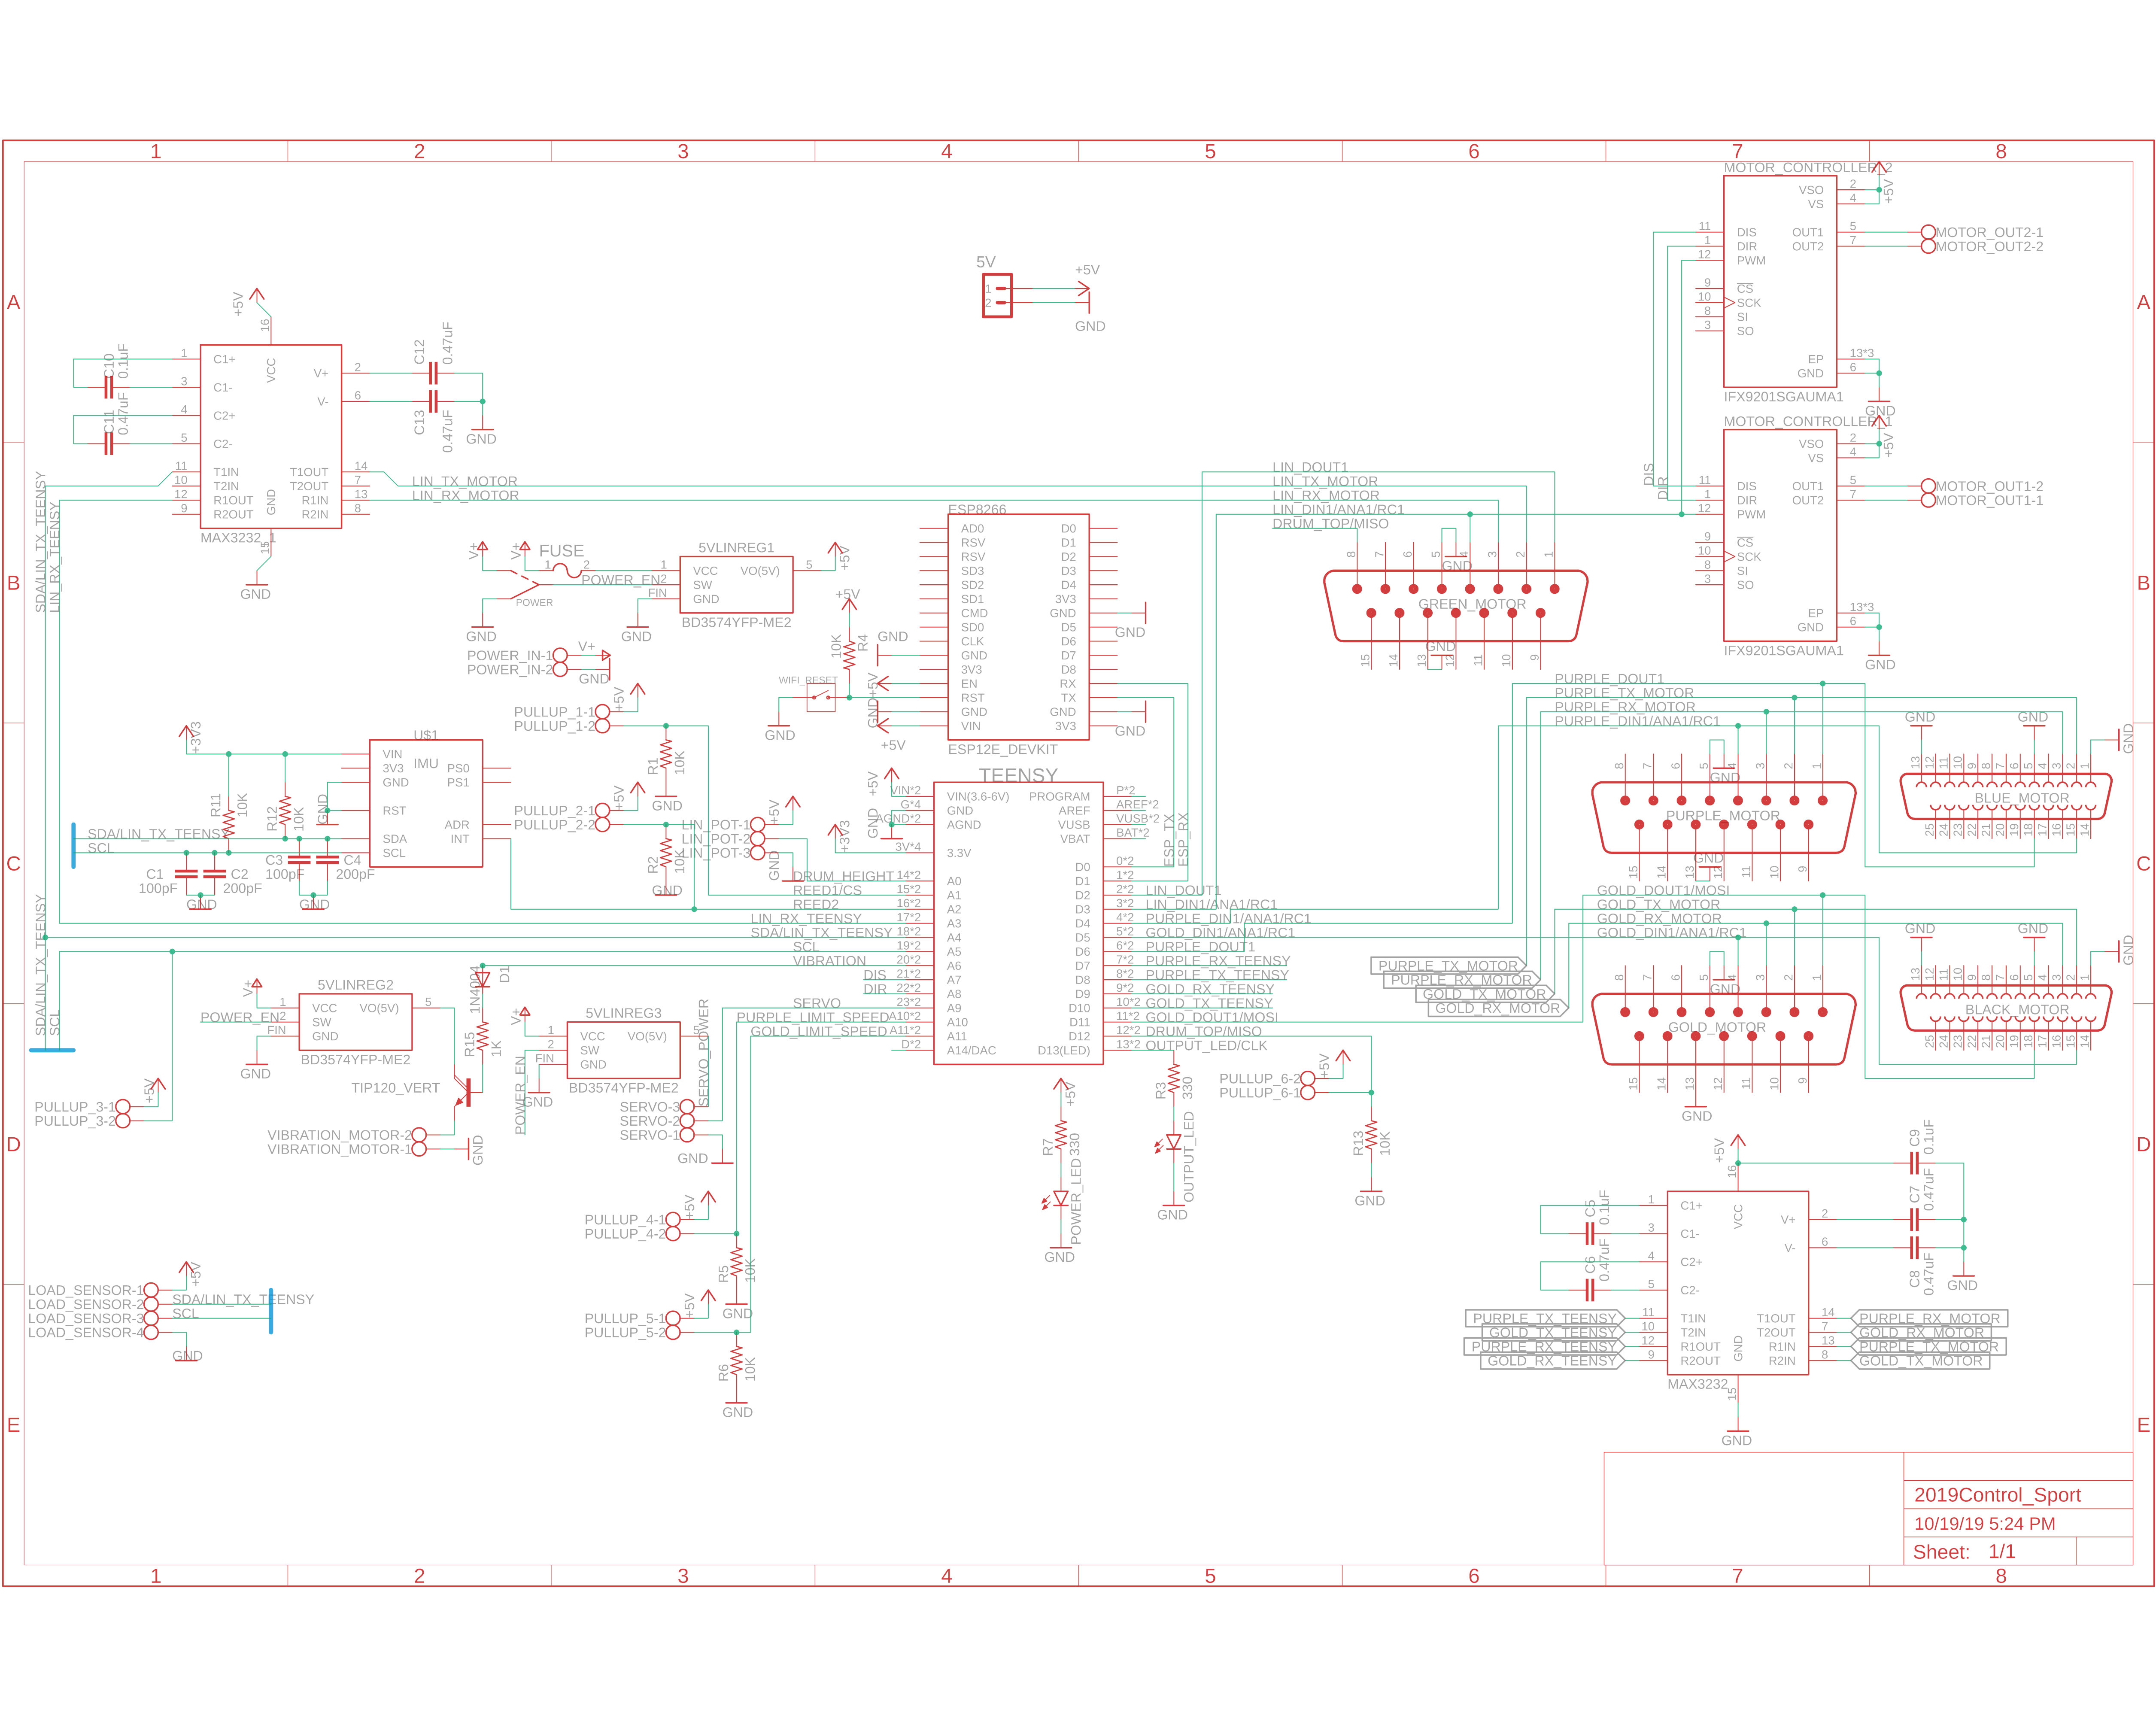
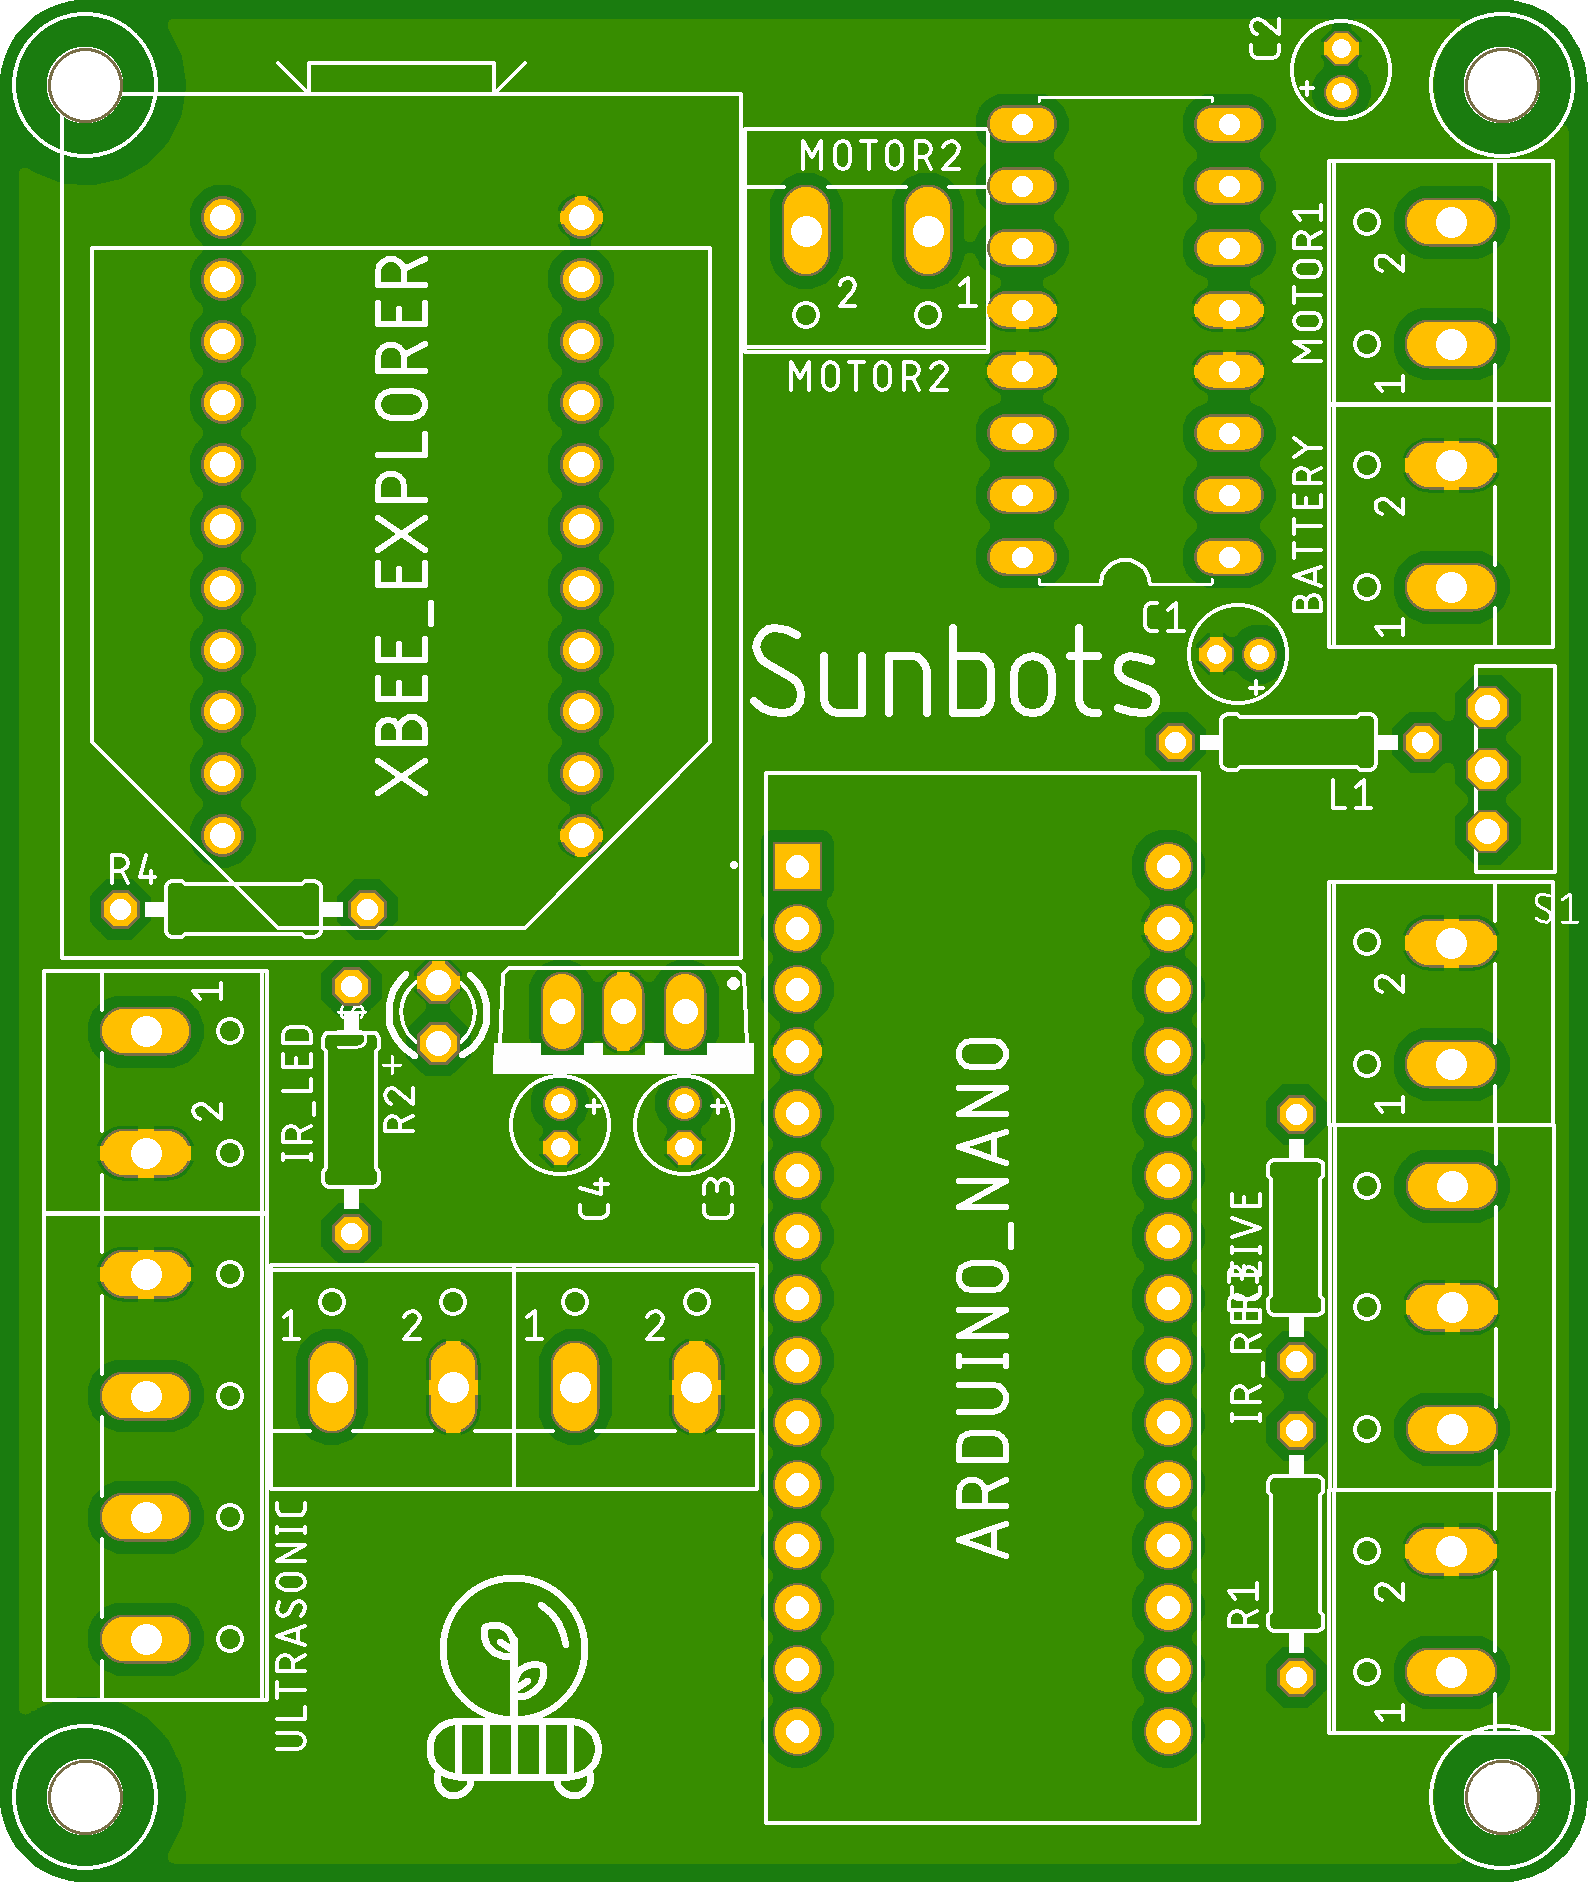
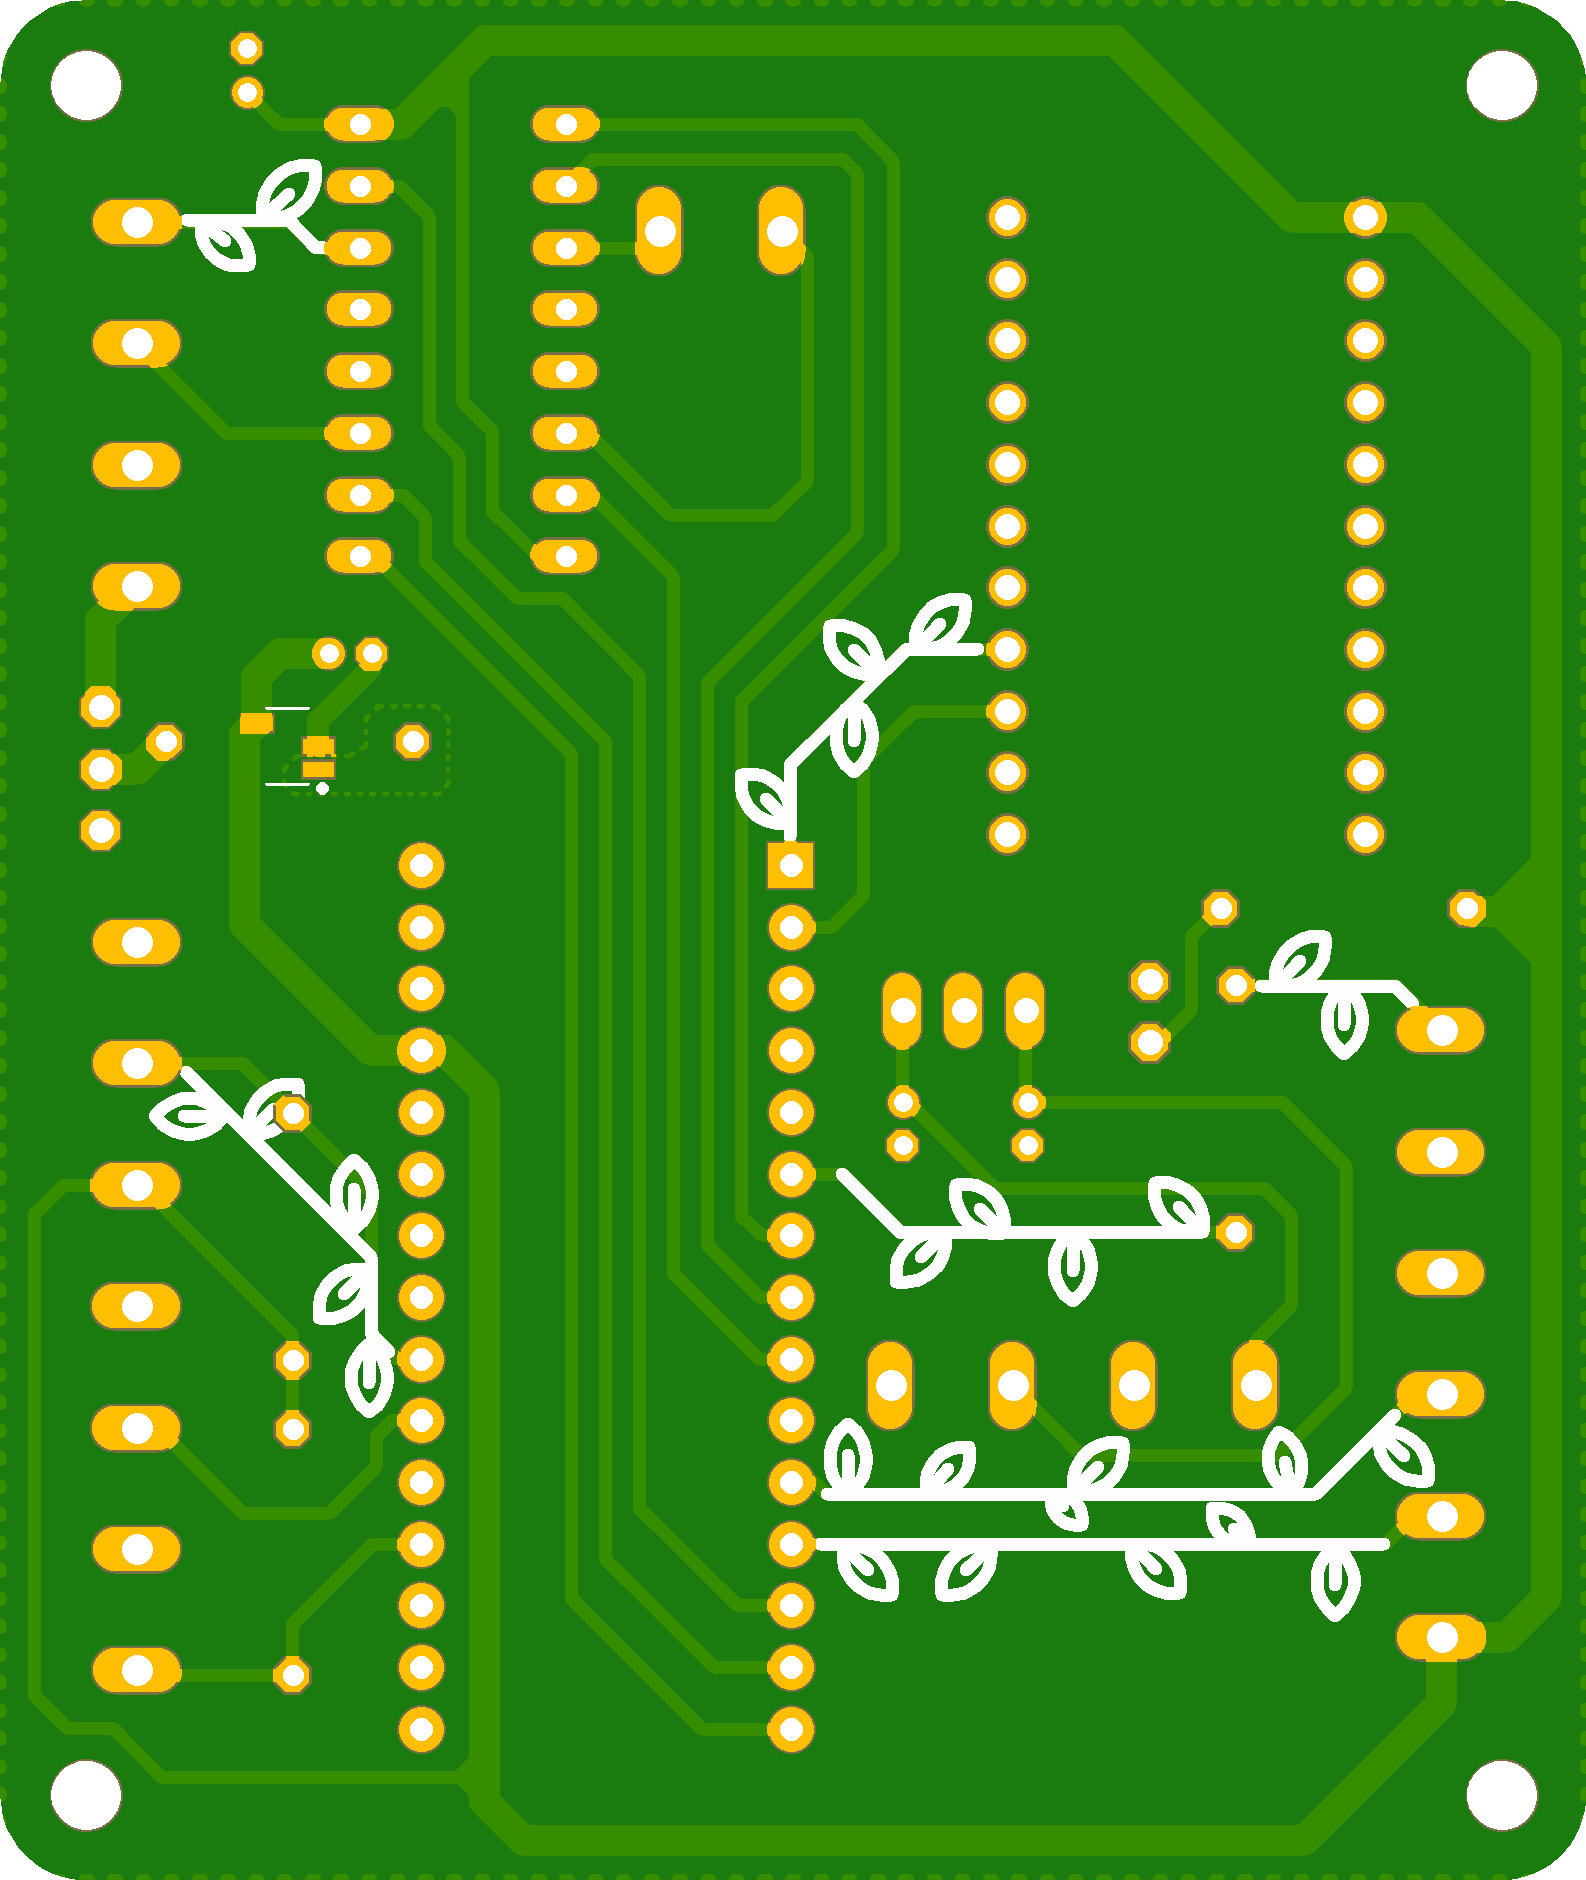
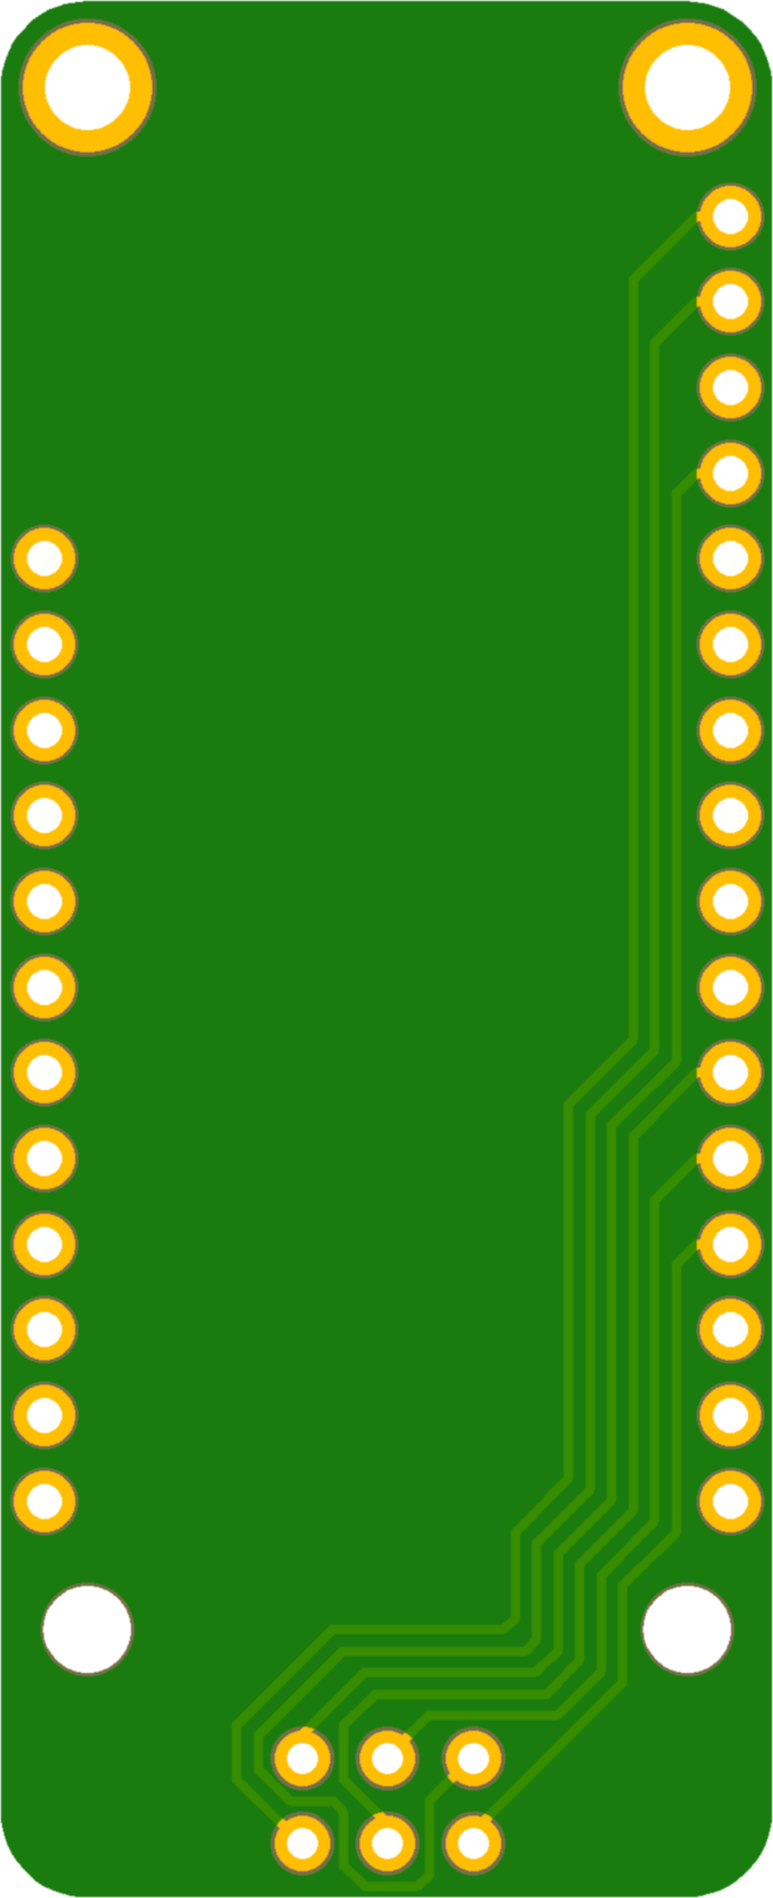
This PCB was developed by creating 4 prototype boards, then combining the schematic design of each PCB to yield a board capable of being populated with different components to control each system uniquely. The list of possible components to be used on this board is given here:
- A Teensy 3.2 for making low level decisions for the robot
- An ESP8266 so that each robot in the two robot system can communicate with each other, with the base station that handles autonomy, and with the ground station
- D-Sub connectors for interfacing with 2 different kinds of brushless motor controllers with a maximum of 3 motor controllers per board
- An IMU for tracking motion and managing postion, as well as providing feedback for locomotion
- A power MOSFET intended for controlling DC vibration motors
- 2 motor controller ICs for controlling linear actuators and brushed motors
- A servo output connection with 5V, a PWM line, and ground
- 6 connections to digital pins with pull-up resistors for measuring input from reed switches, limit switches
- Input connections for a potentiometer to measure the current depth of the digging mechanism
